Overview:
This guide provides a comprehensive walkthrough of Xemelgo’s Advanced Search feature on the web. Advanced Search makes investigations easier by helping users quickly find every item matching their required status and location, then share their findings with their team.
The guide covers Feature Purpose, Looking Up an Item and Applying Advanced Filters.
Feature Purpose:
Investigating used to mean searching for one item at a time: finding a match, opening it, navigating back, and starting the search again. Users also had to keep track of what they had already reviewed.
With Advanced Search, users can see every matching item in one place. They can apply filters like time range, stock status, expiration date, or location to narrow down results, review individual items, and update their status, location, and more. Once they’re done, they can return to the same results list without losing their place.
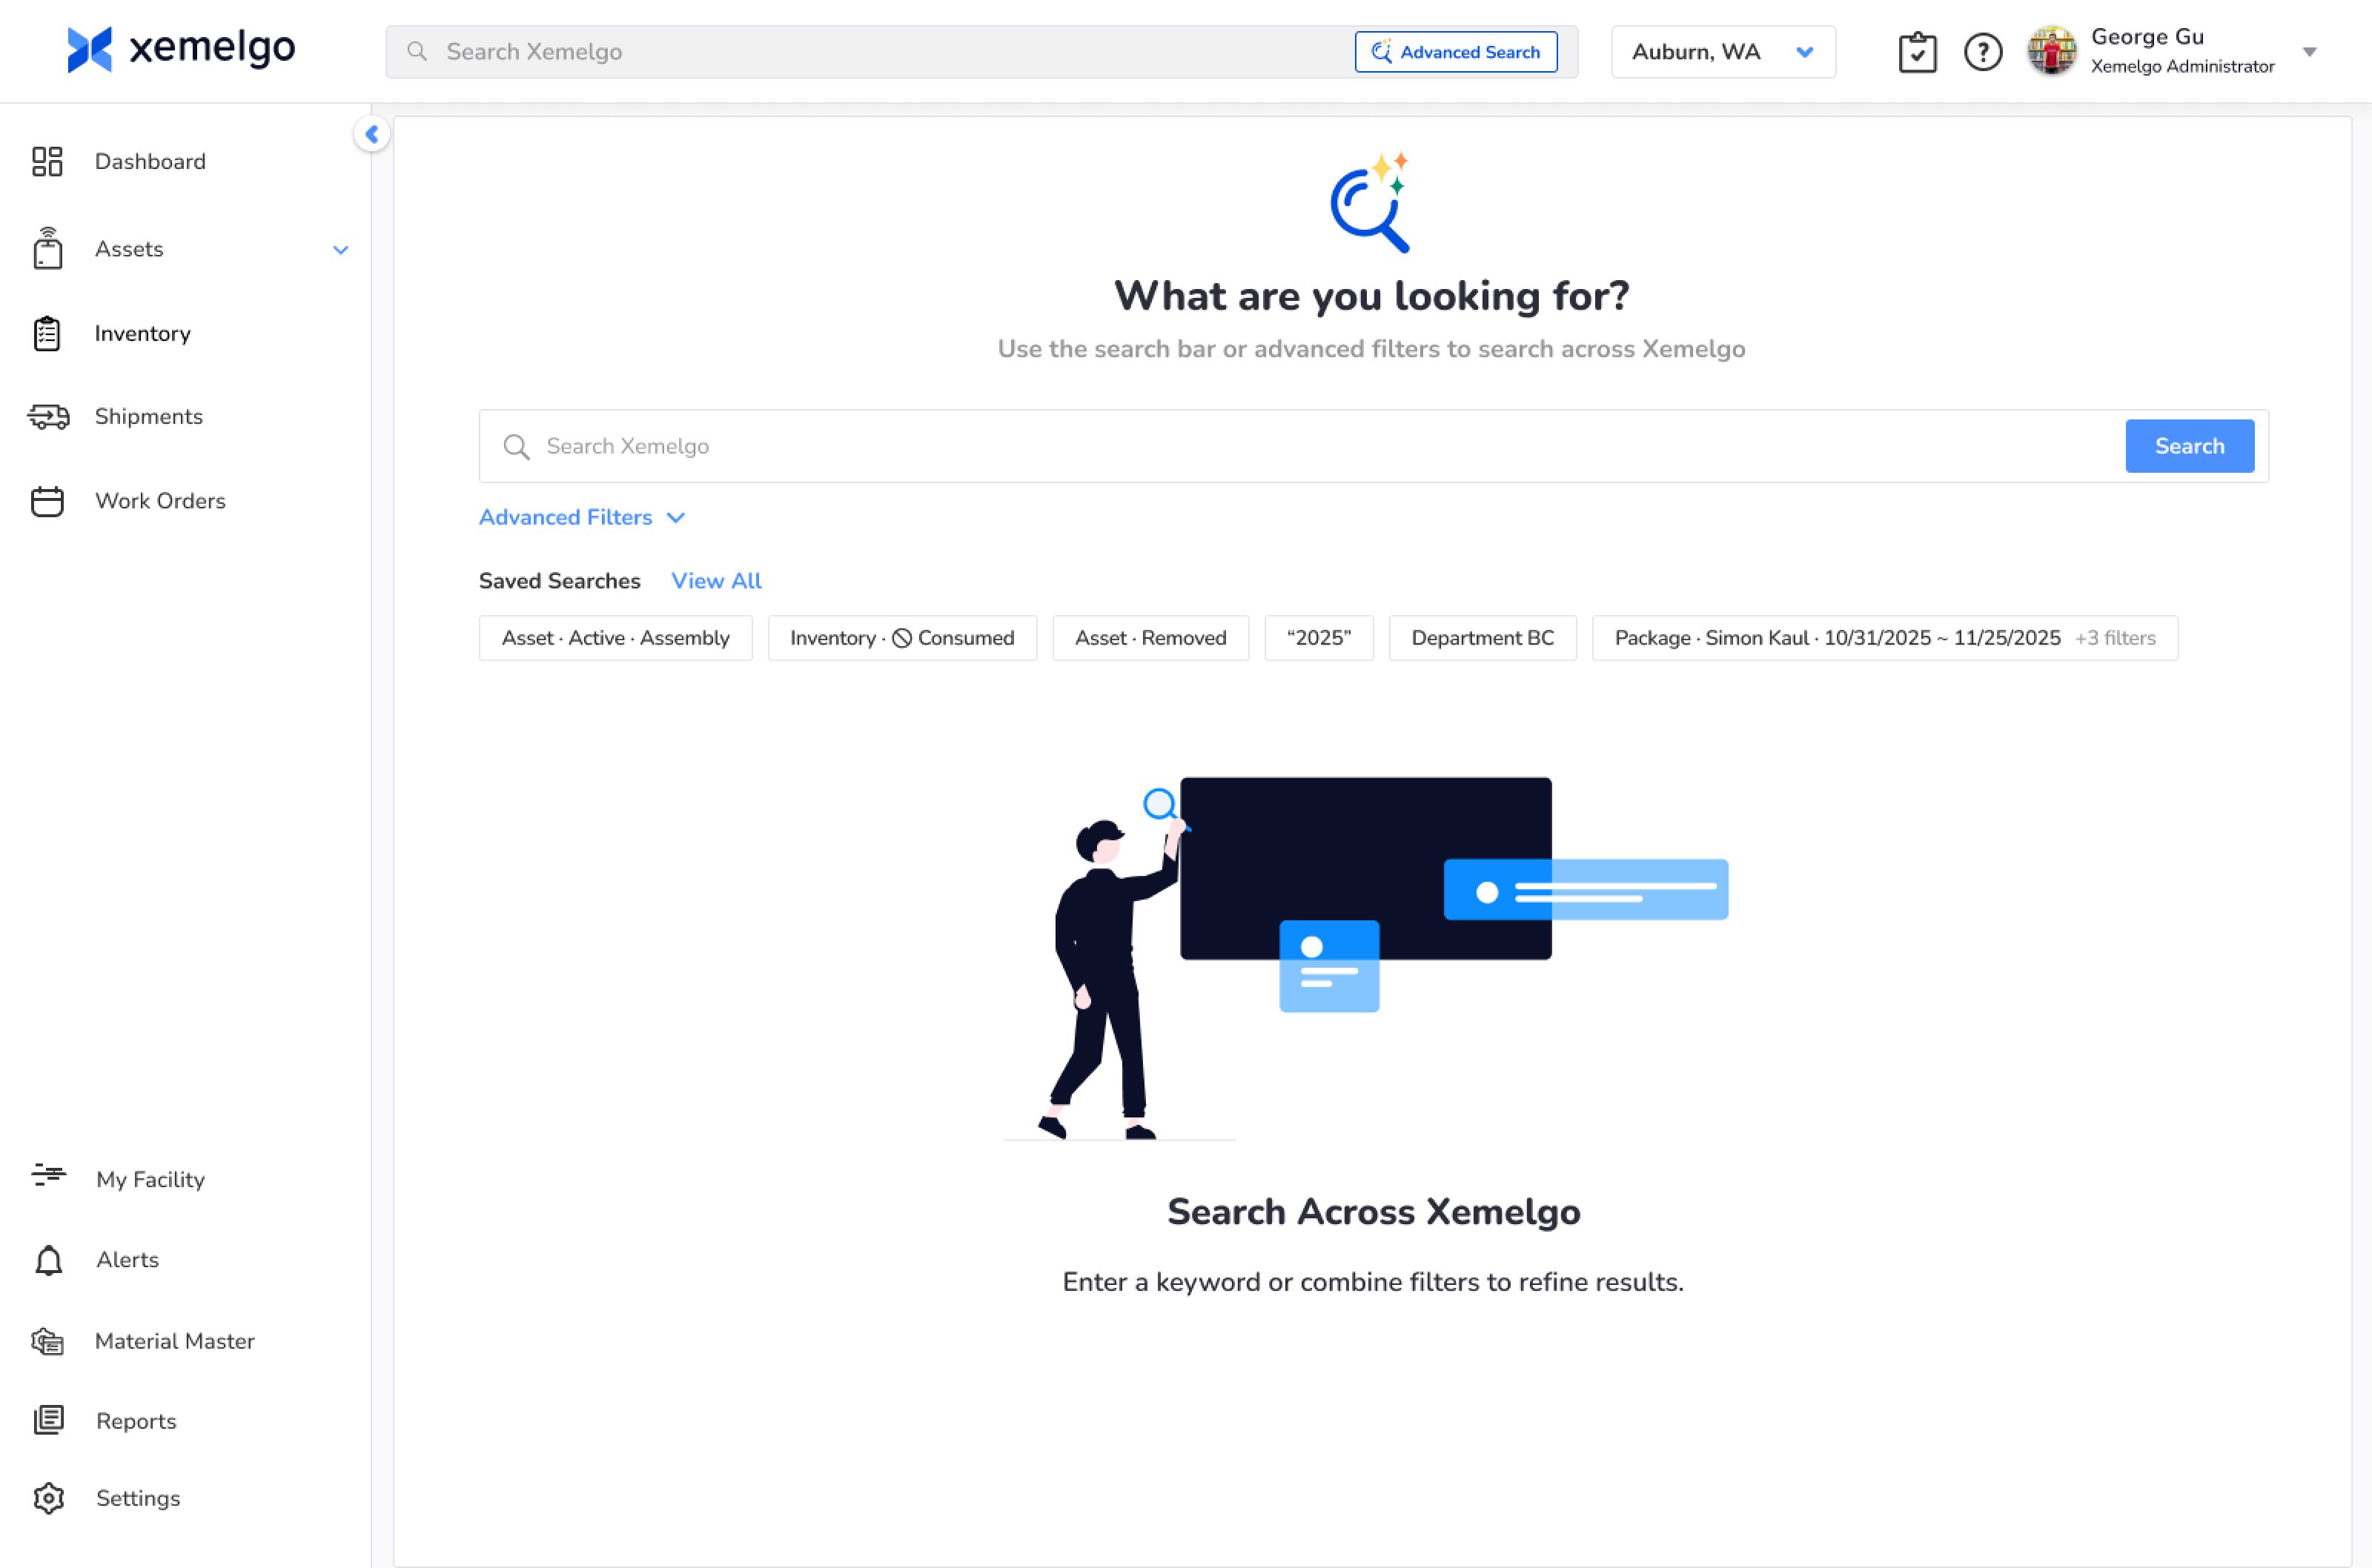
How it works:
To launch the feature, click the Advanced Search button in the search bar at the top of the page. This should open up the Advanced Search Page.
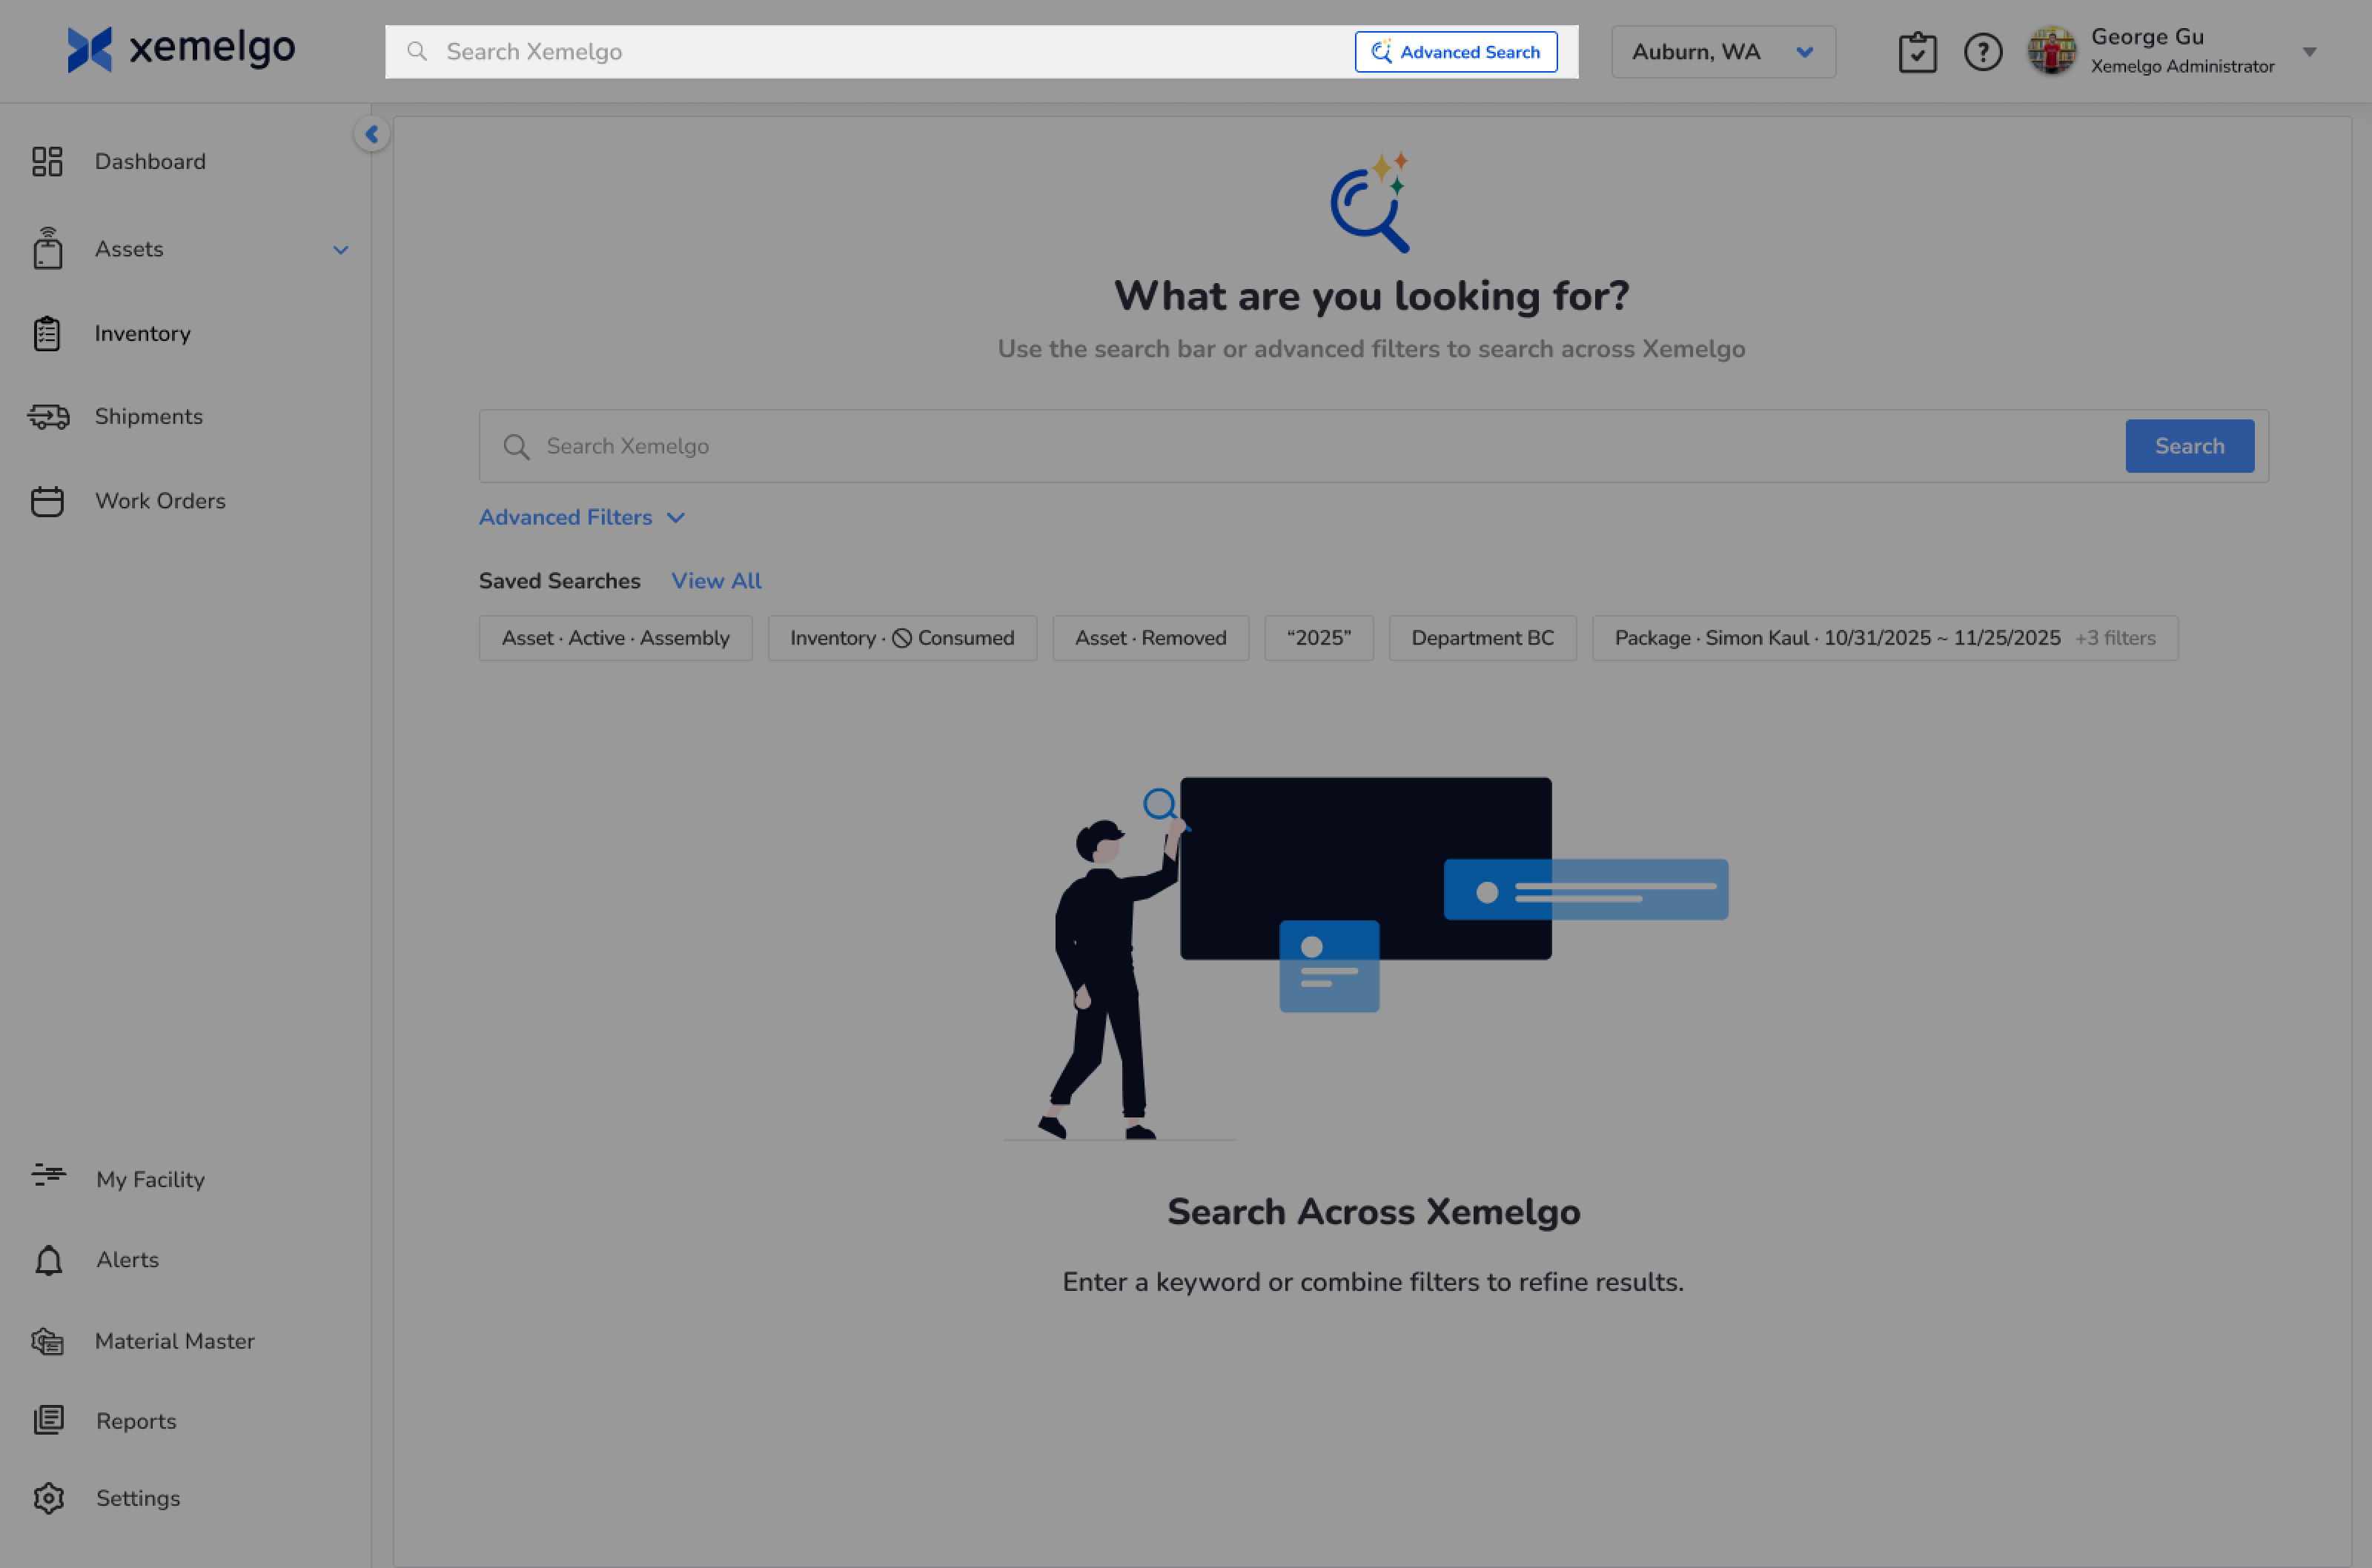
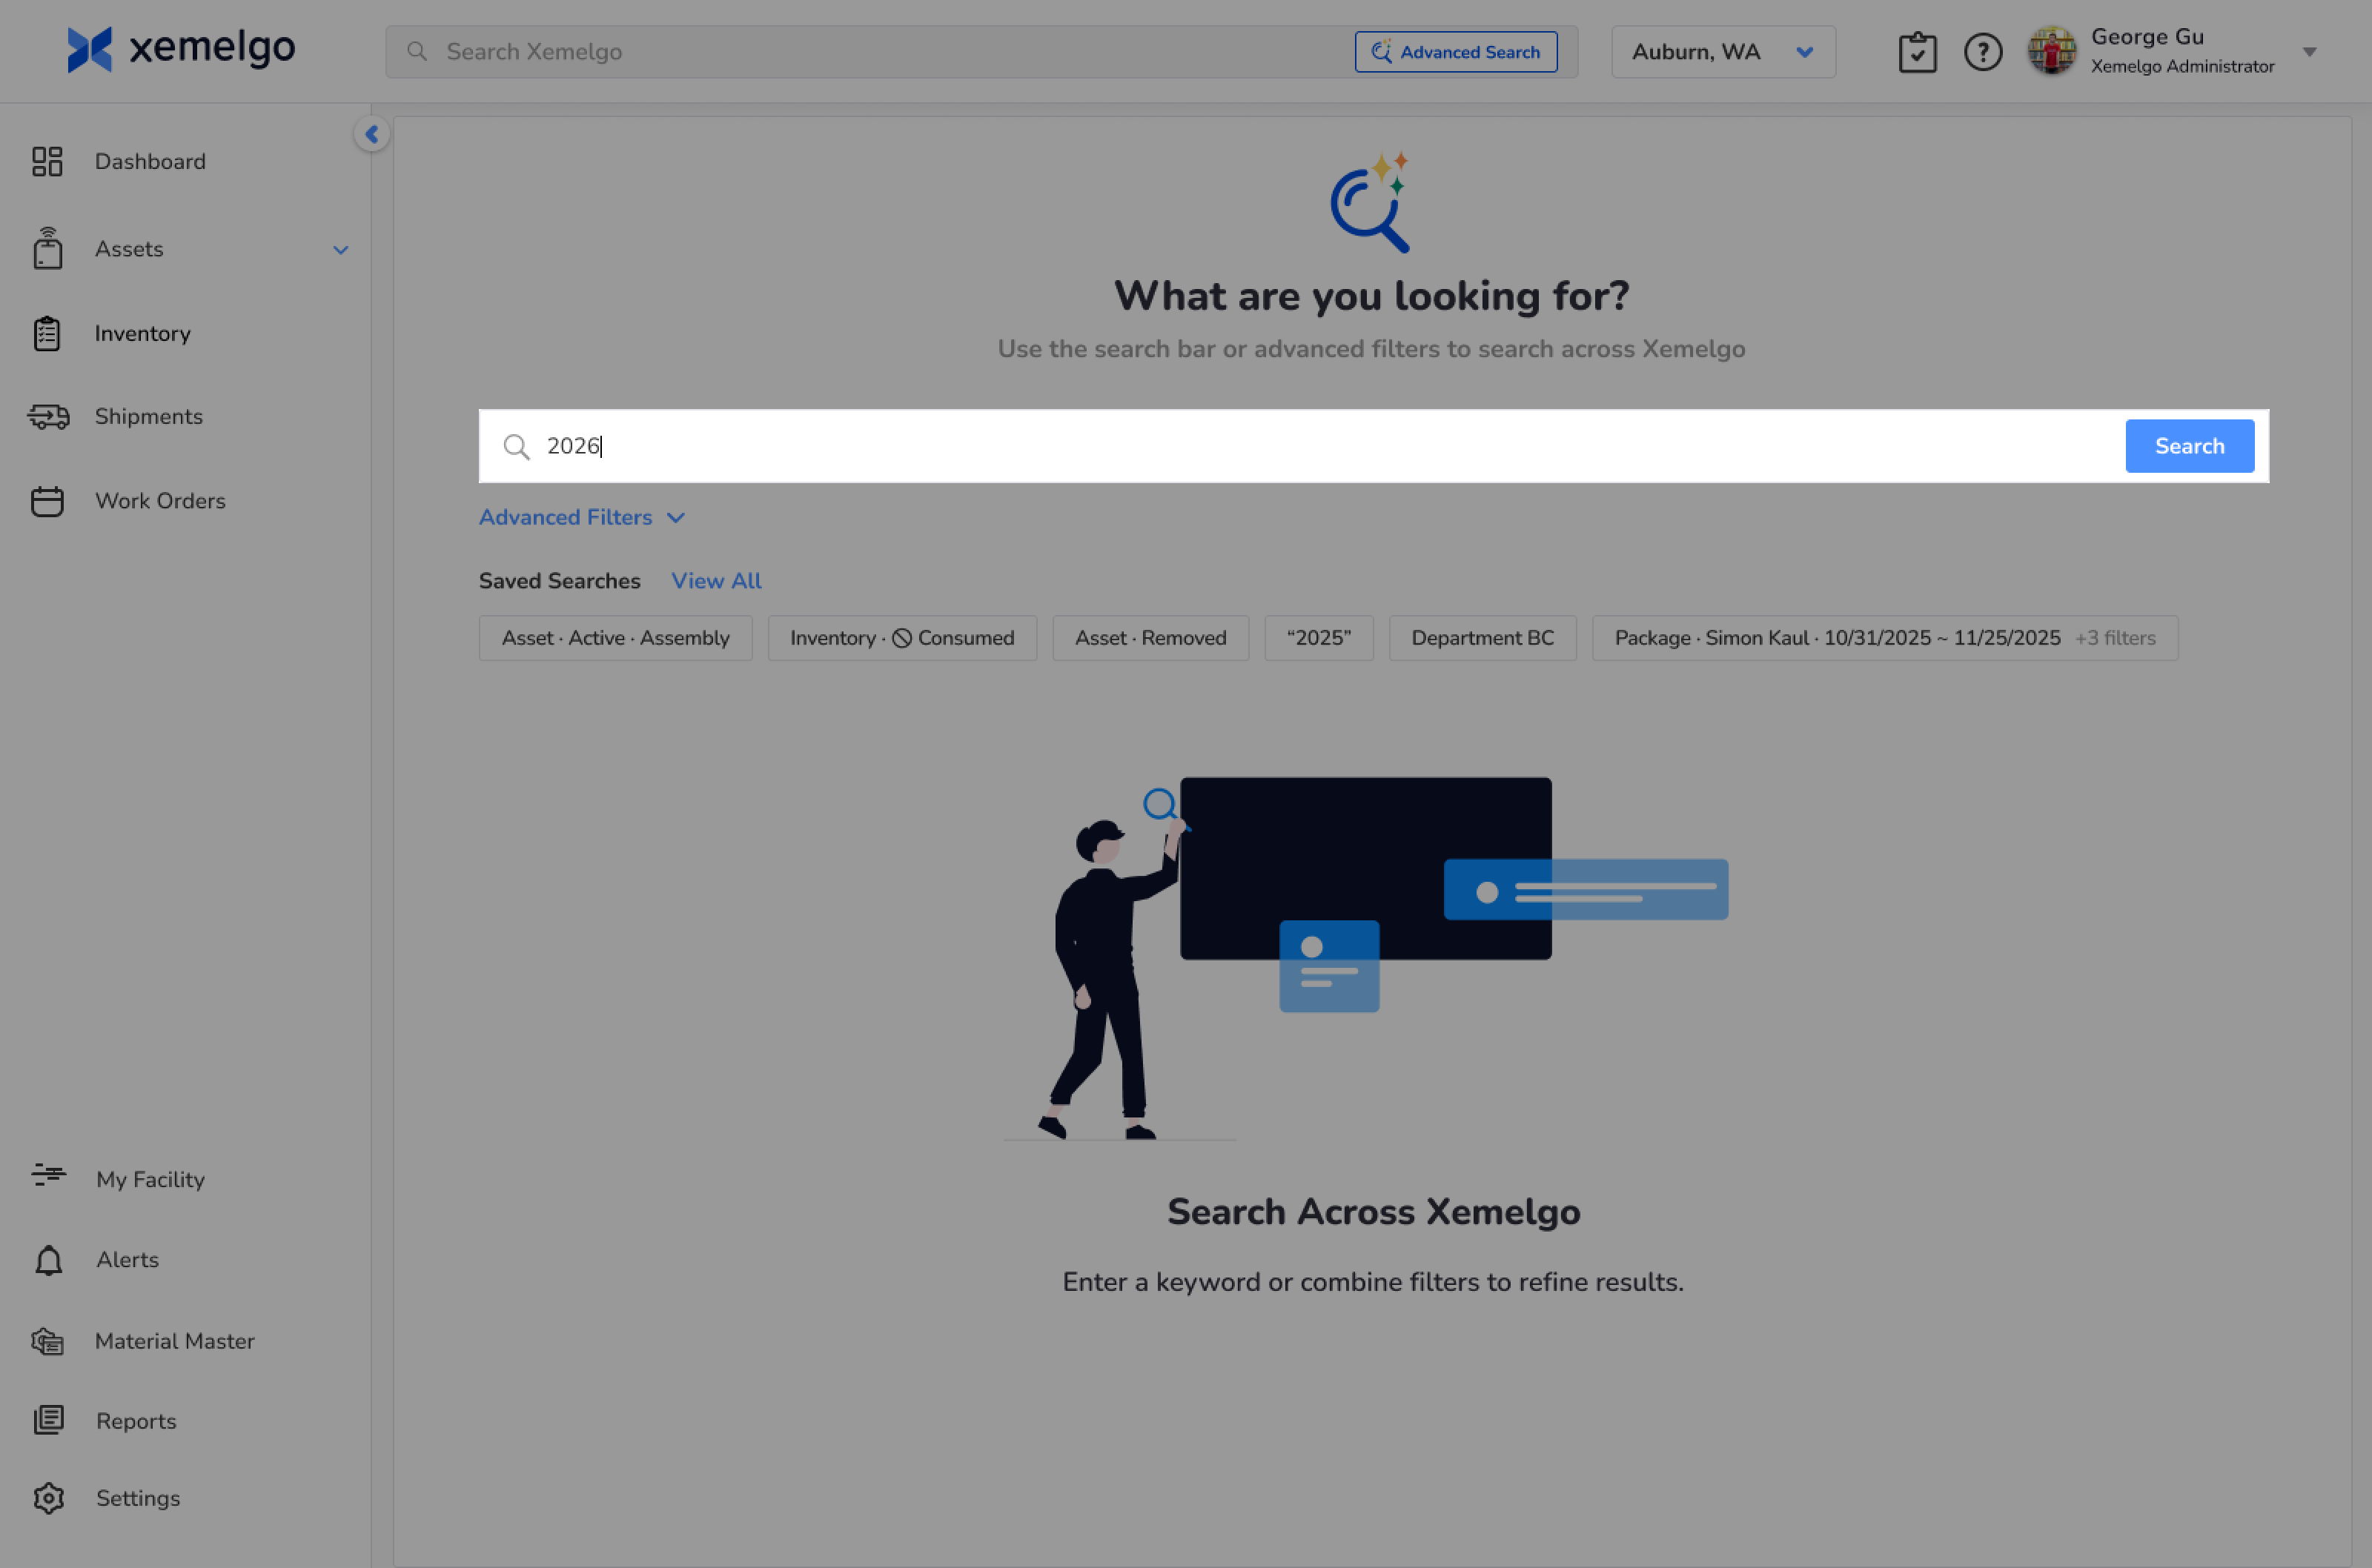
Looking up an Item
To look up an item across any available solution, use the search bar on the Advanced Search page.
This displays matching items, assets, work orders, and transfer orders (shipments) across all solutions available to the user.
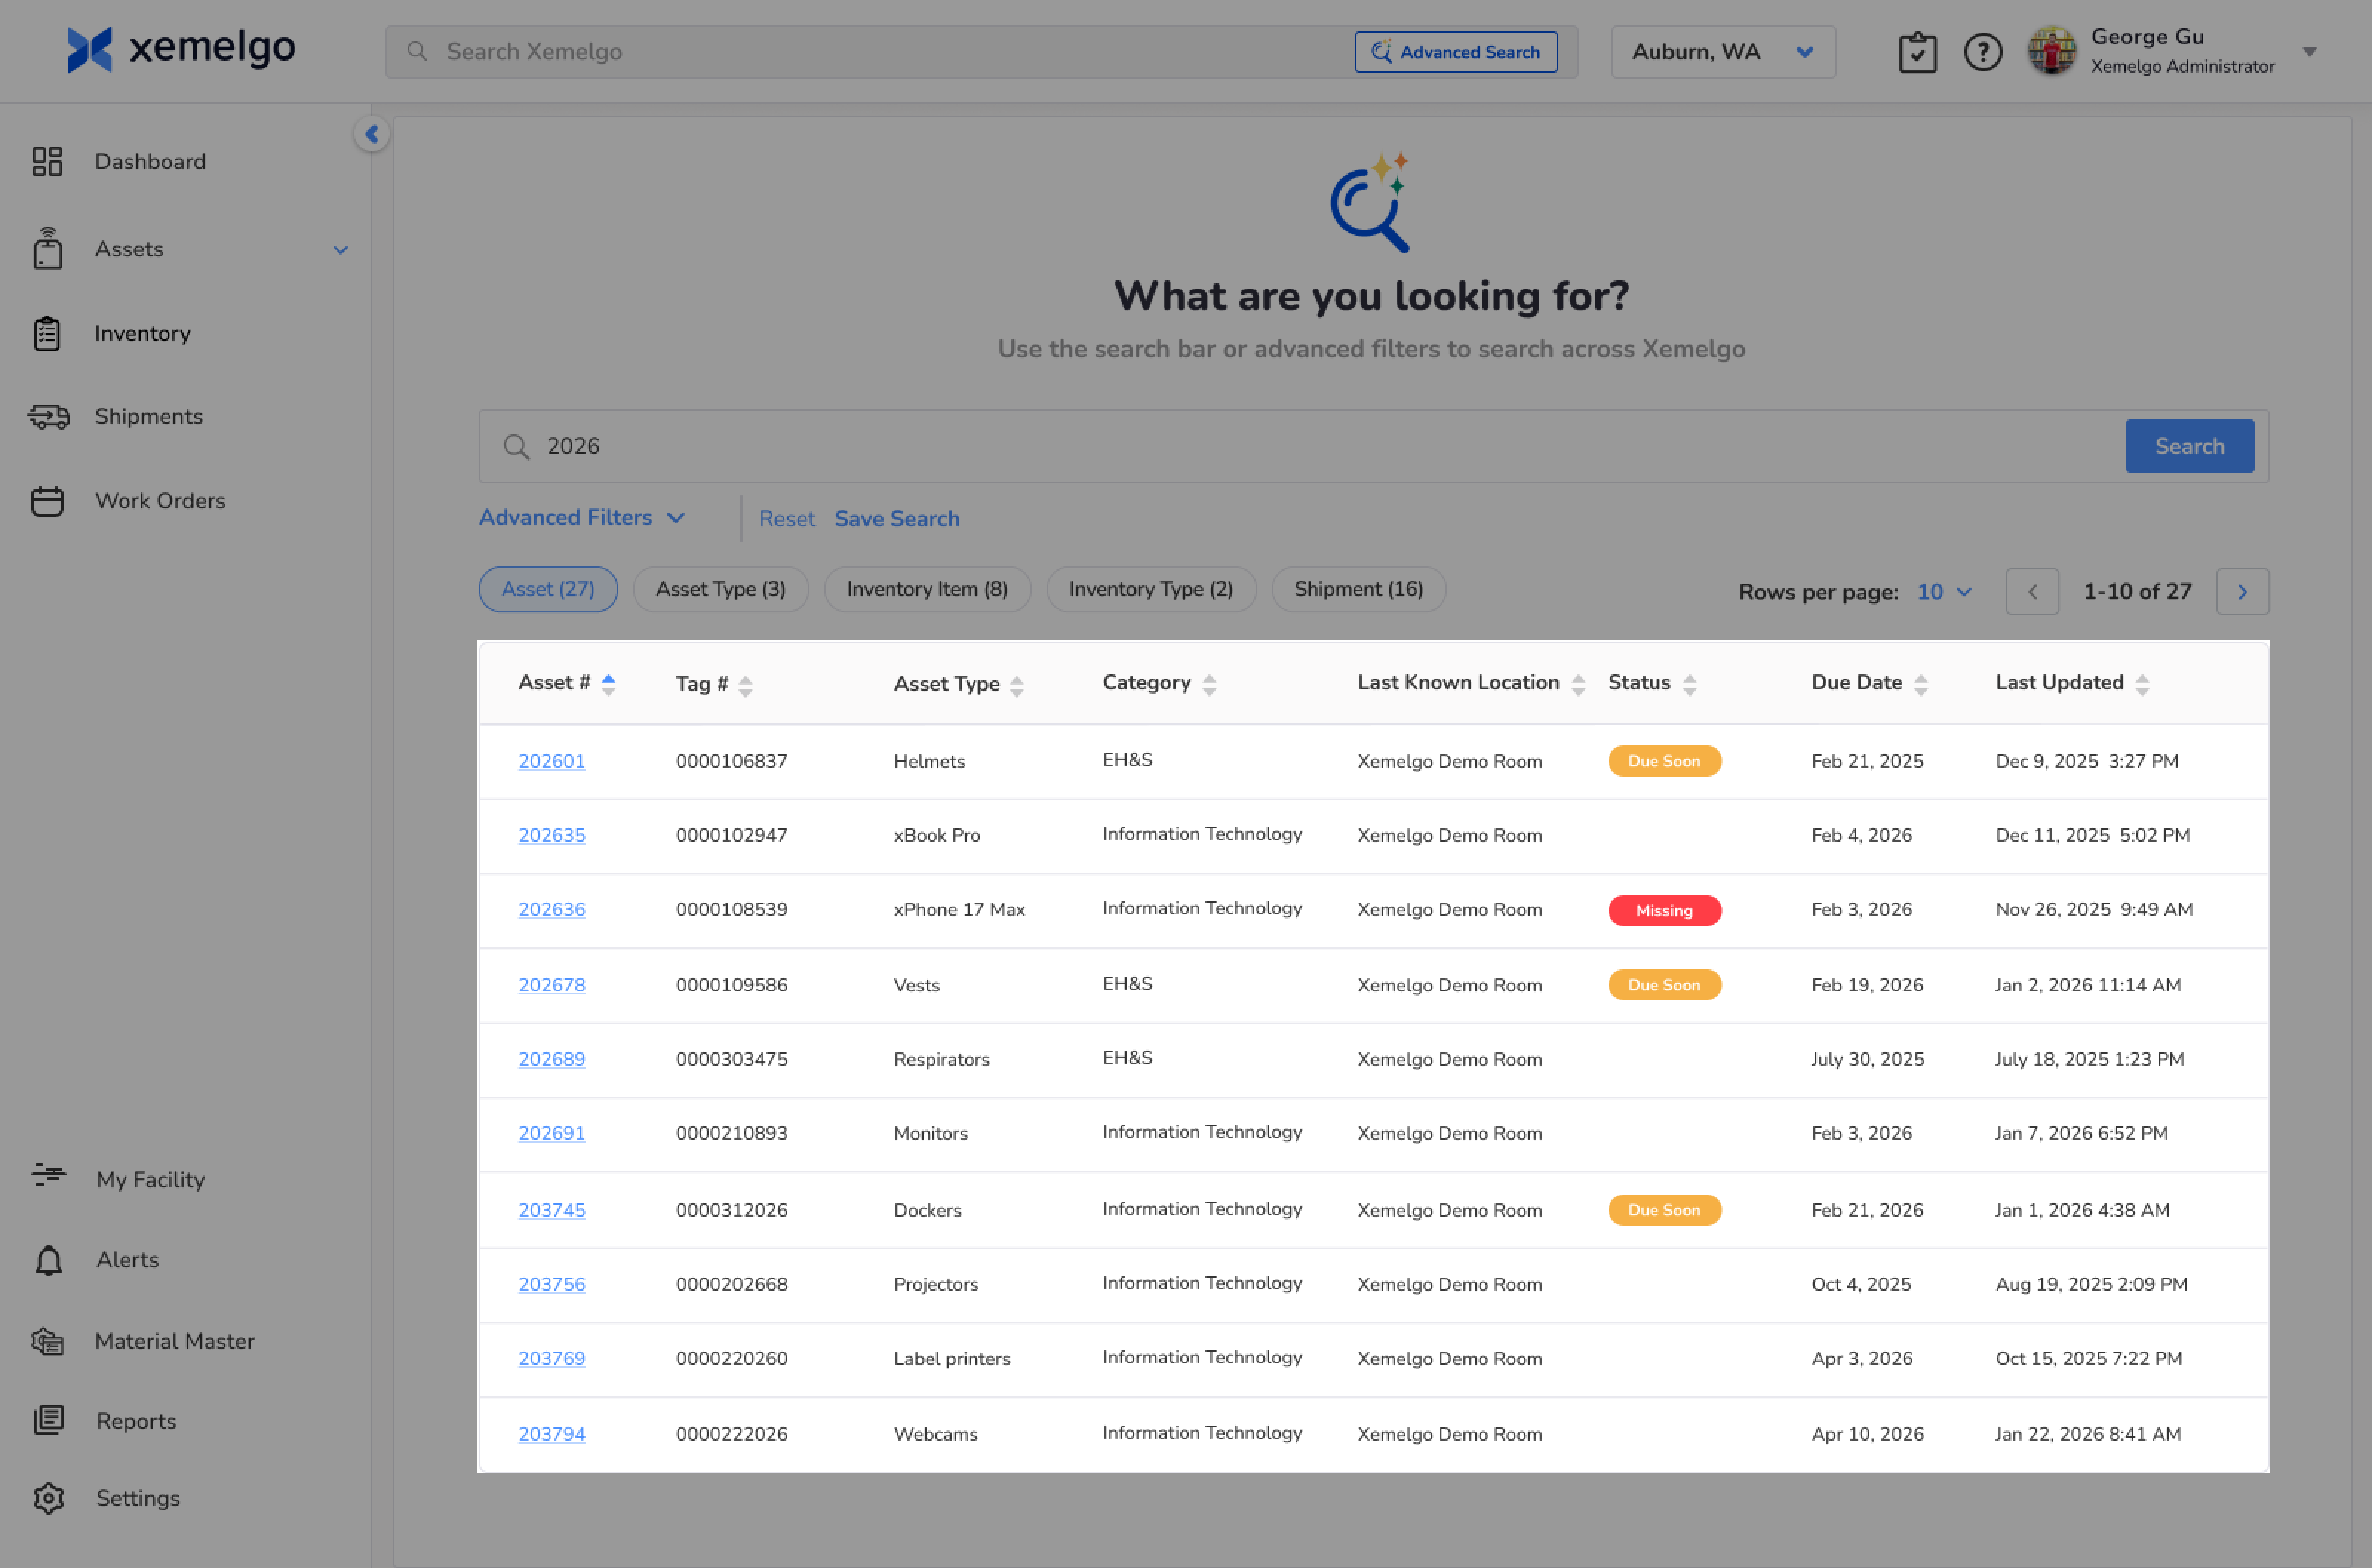
Applying Advanced Filters
To filter by solution type, use the default filters provided above the table.
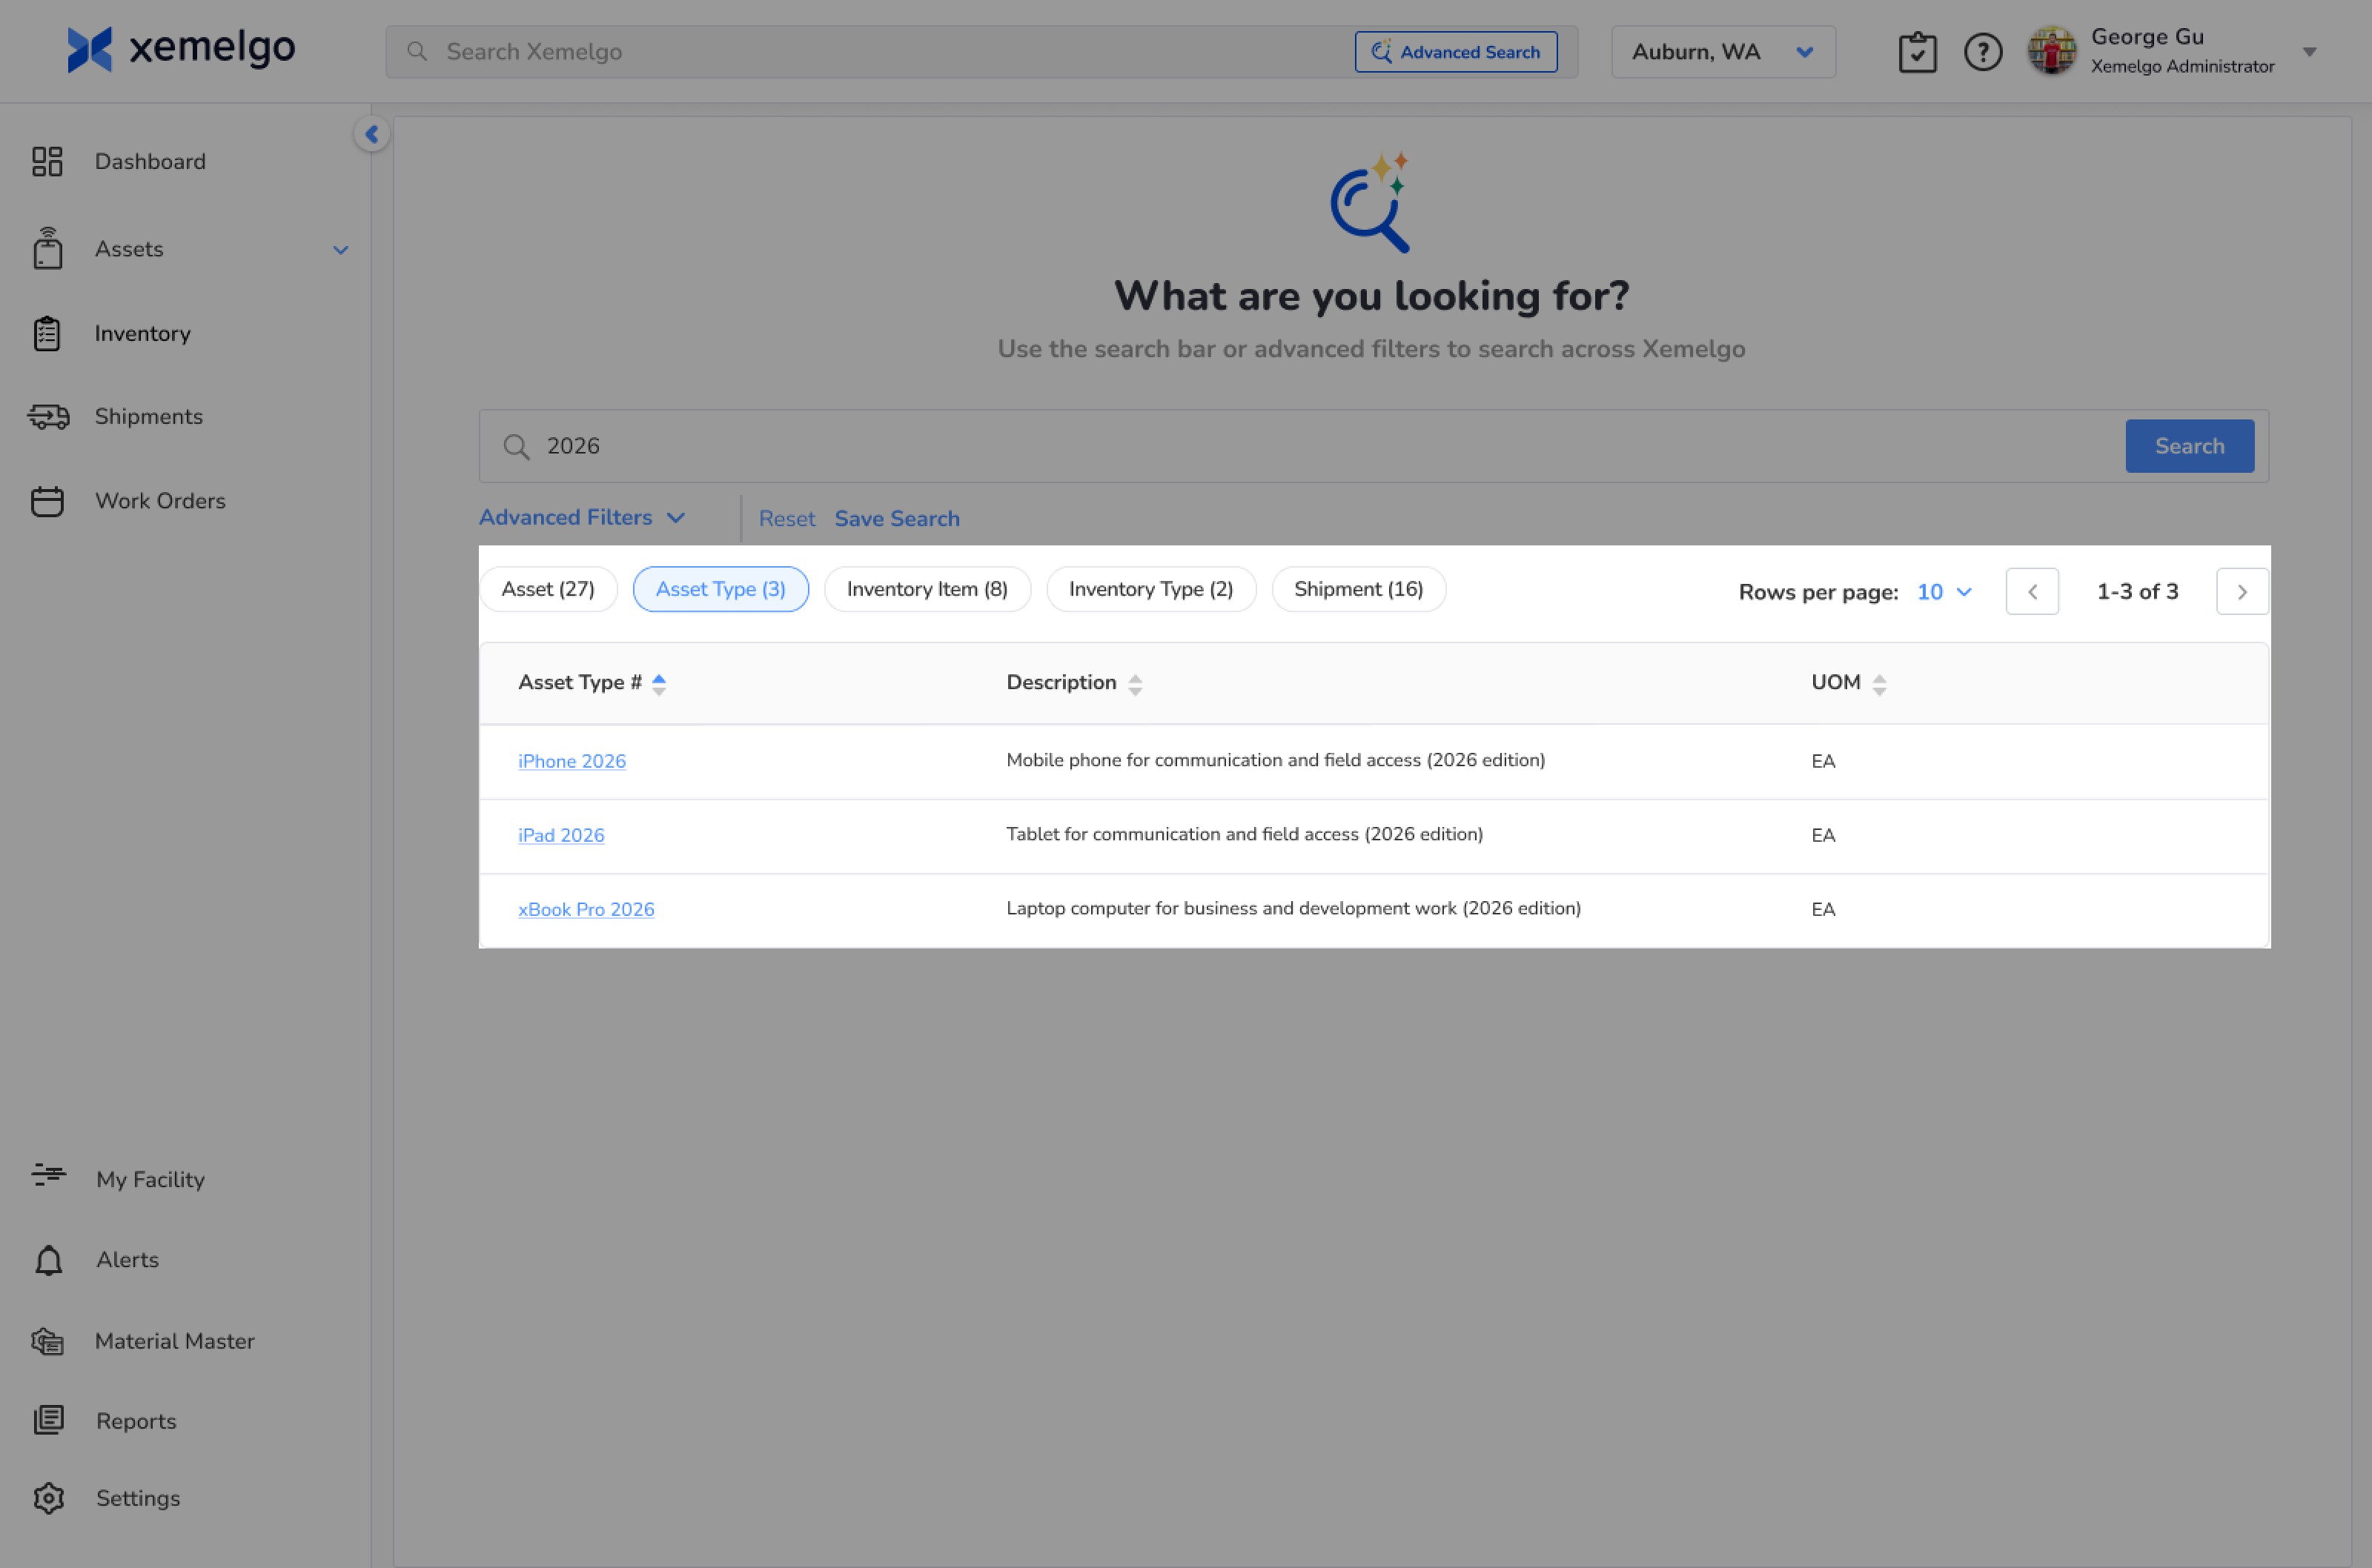
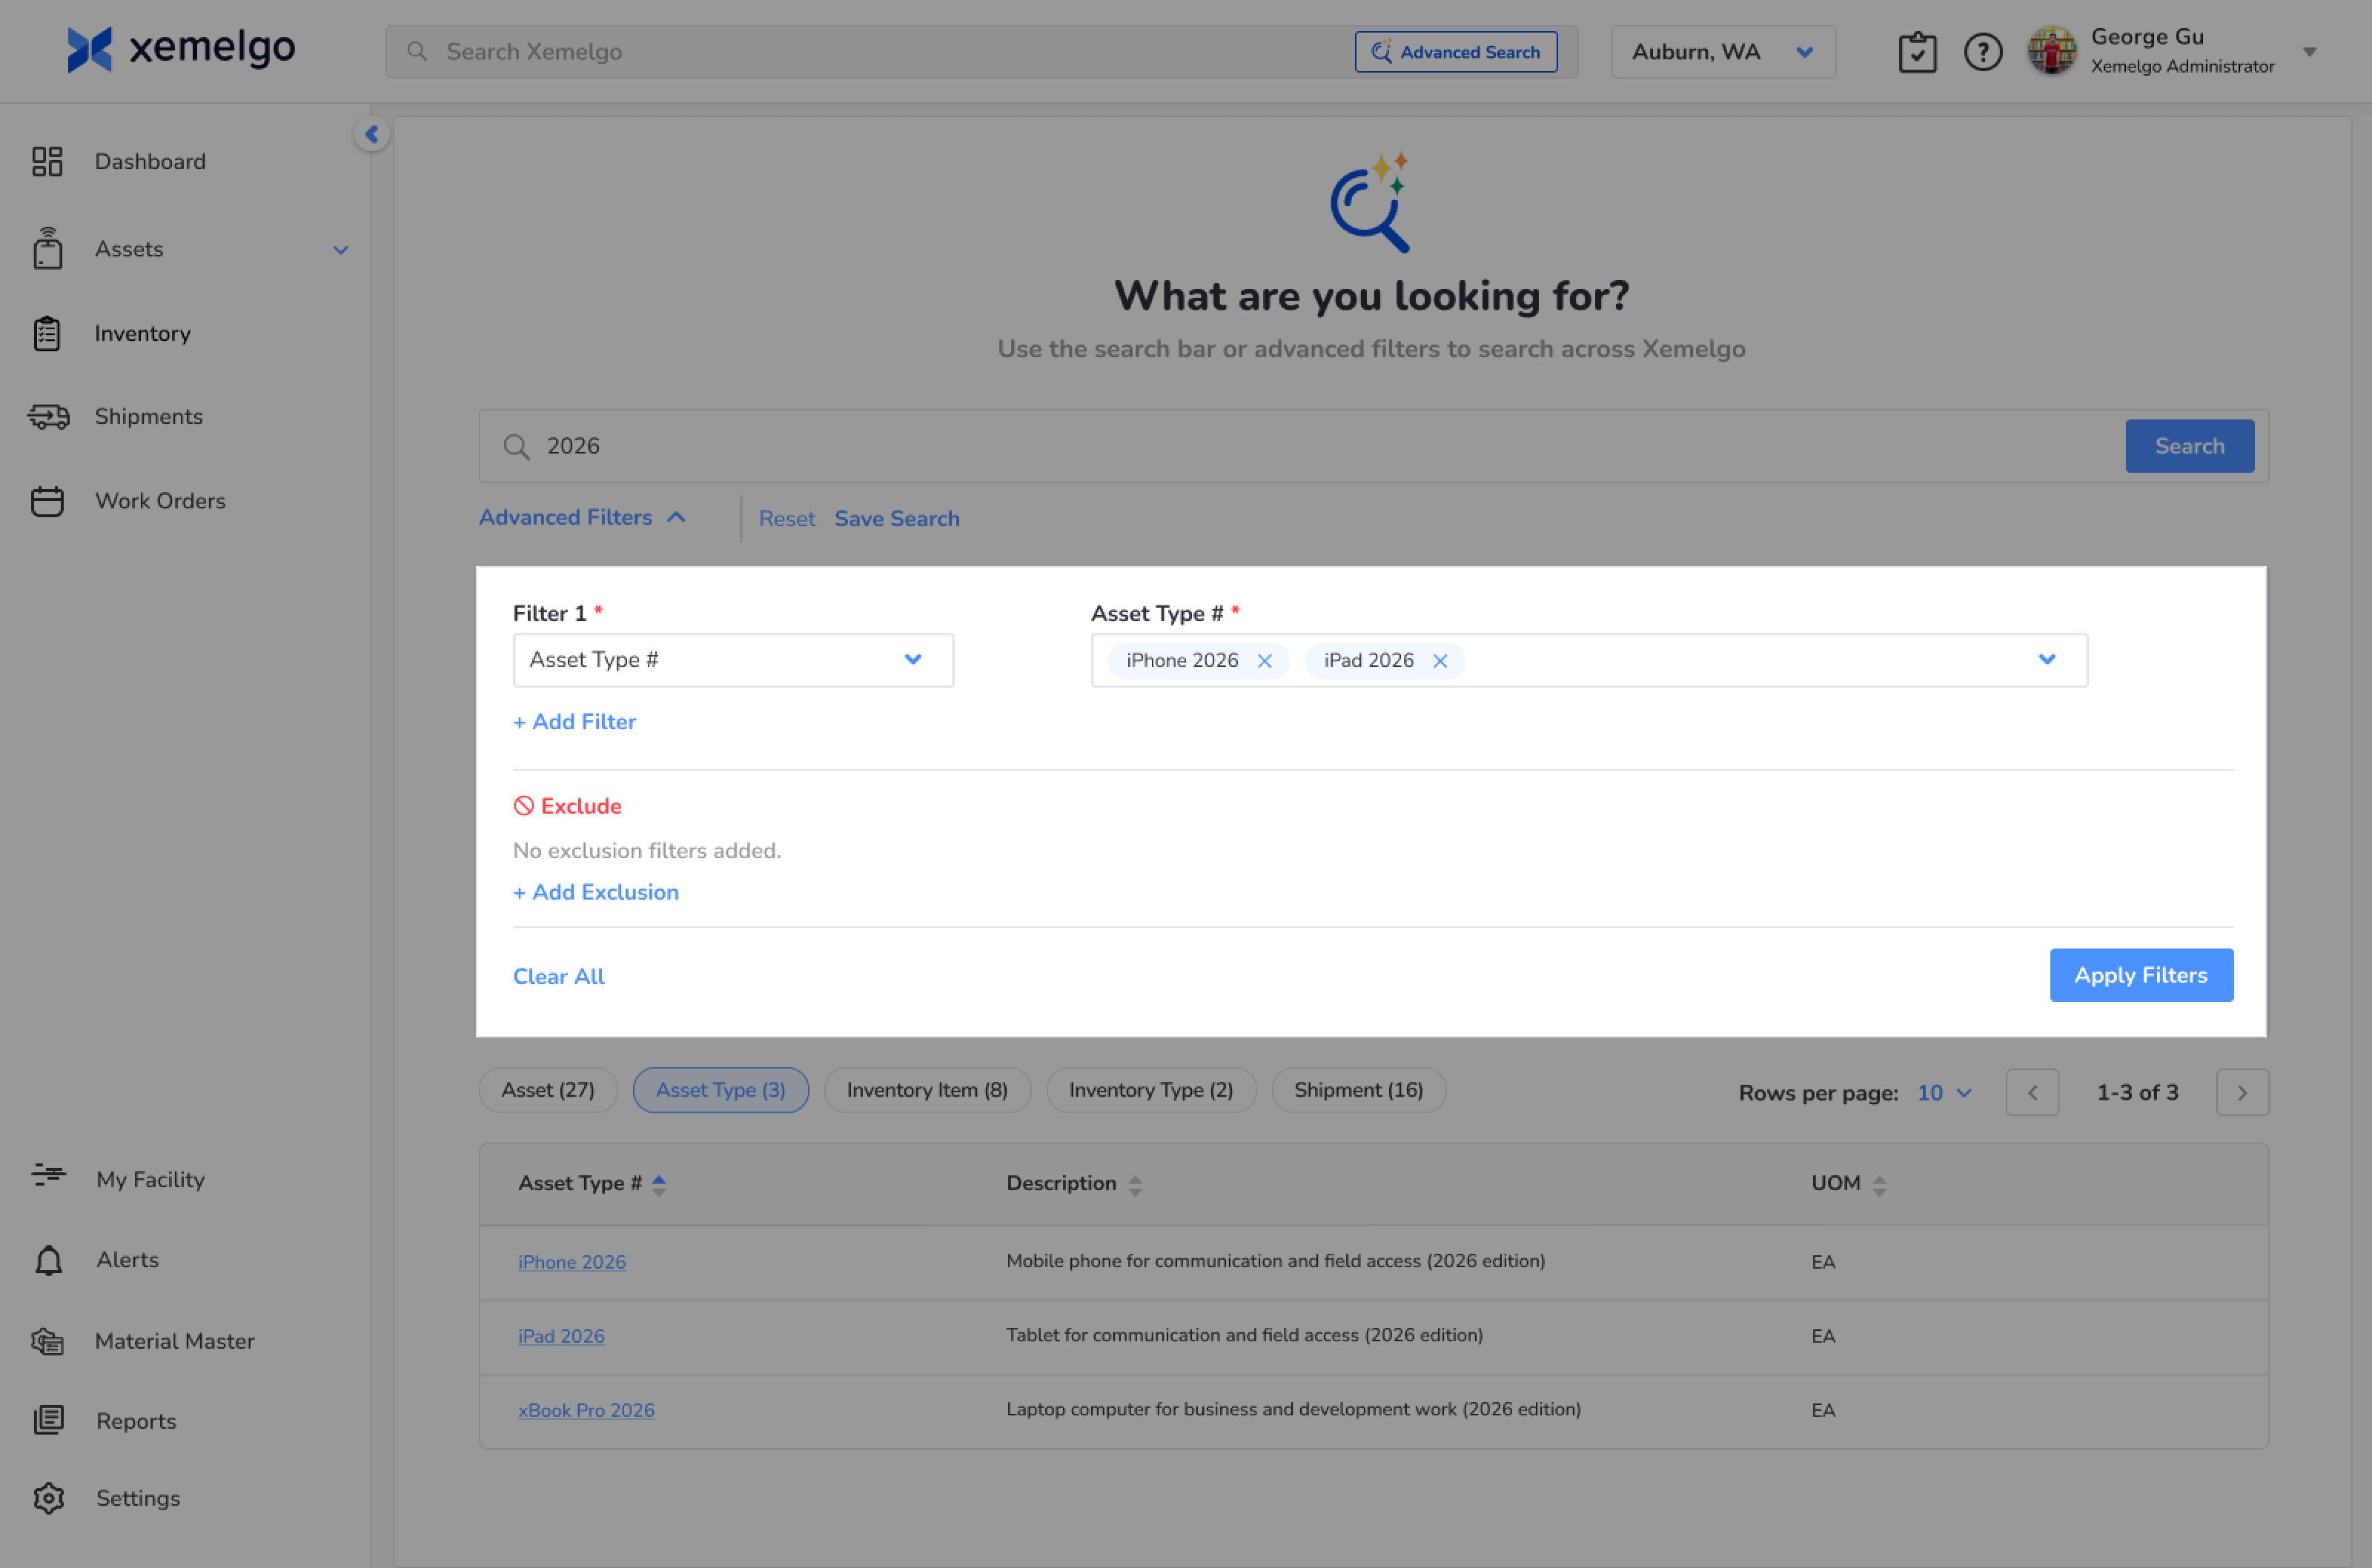
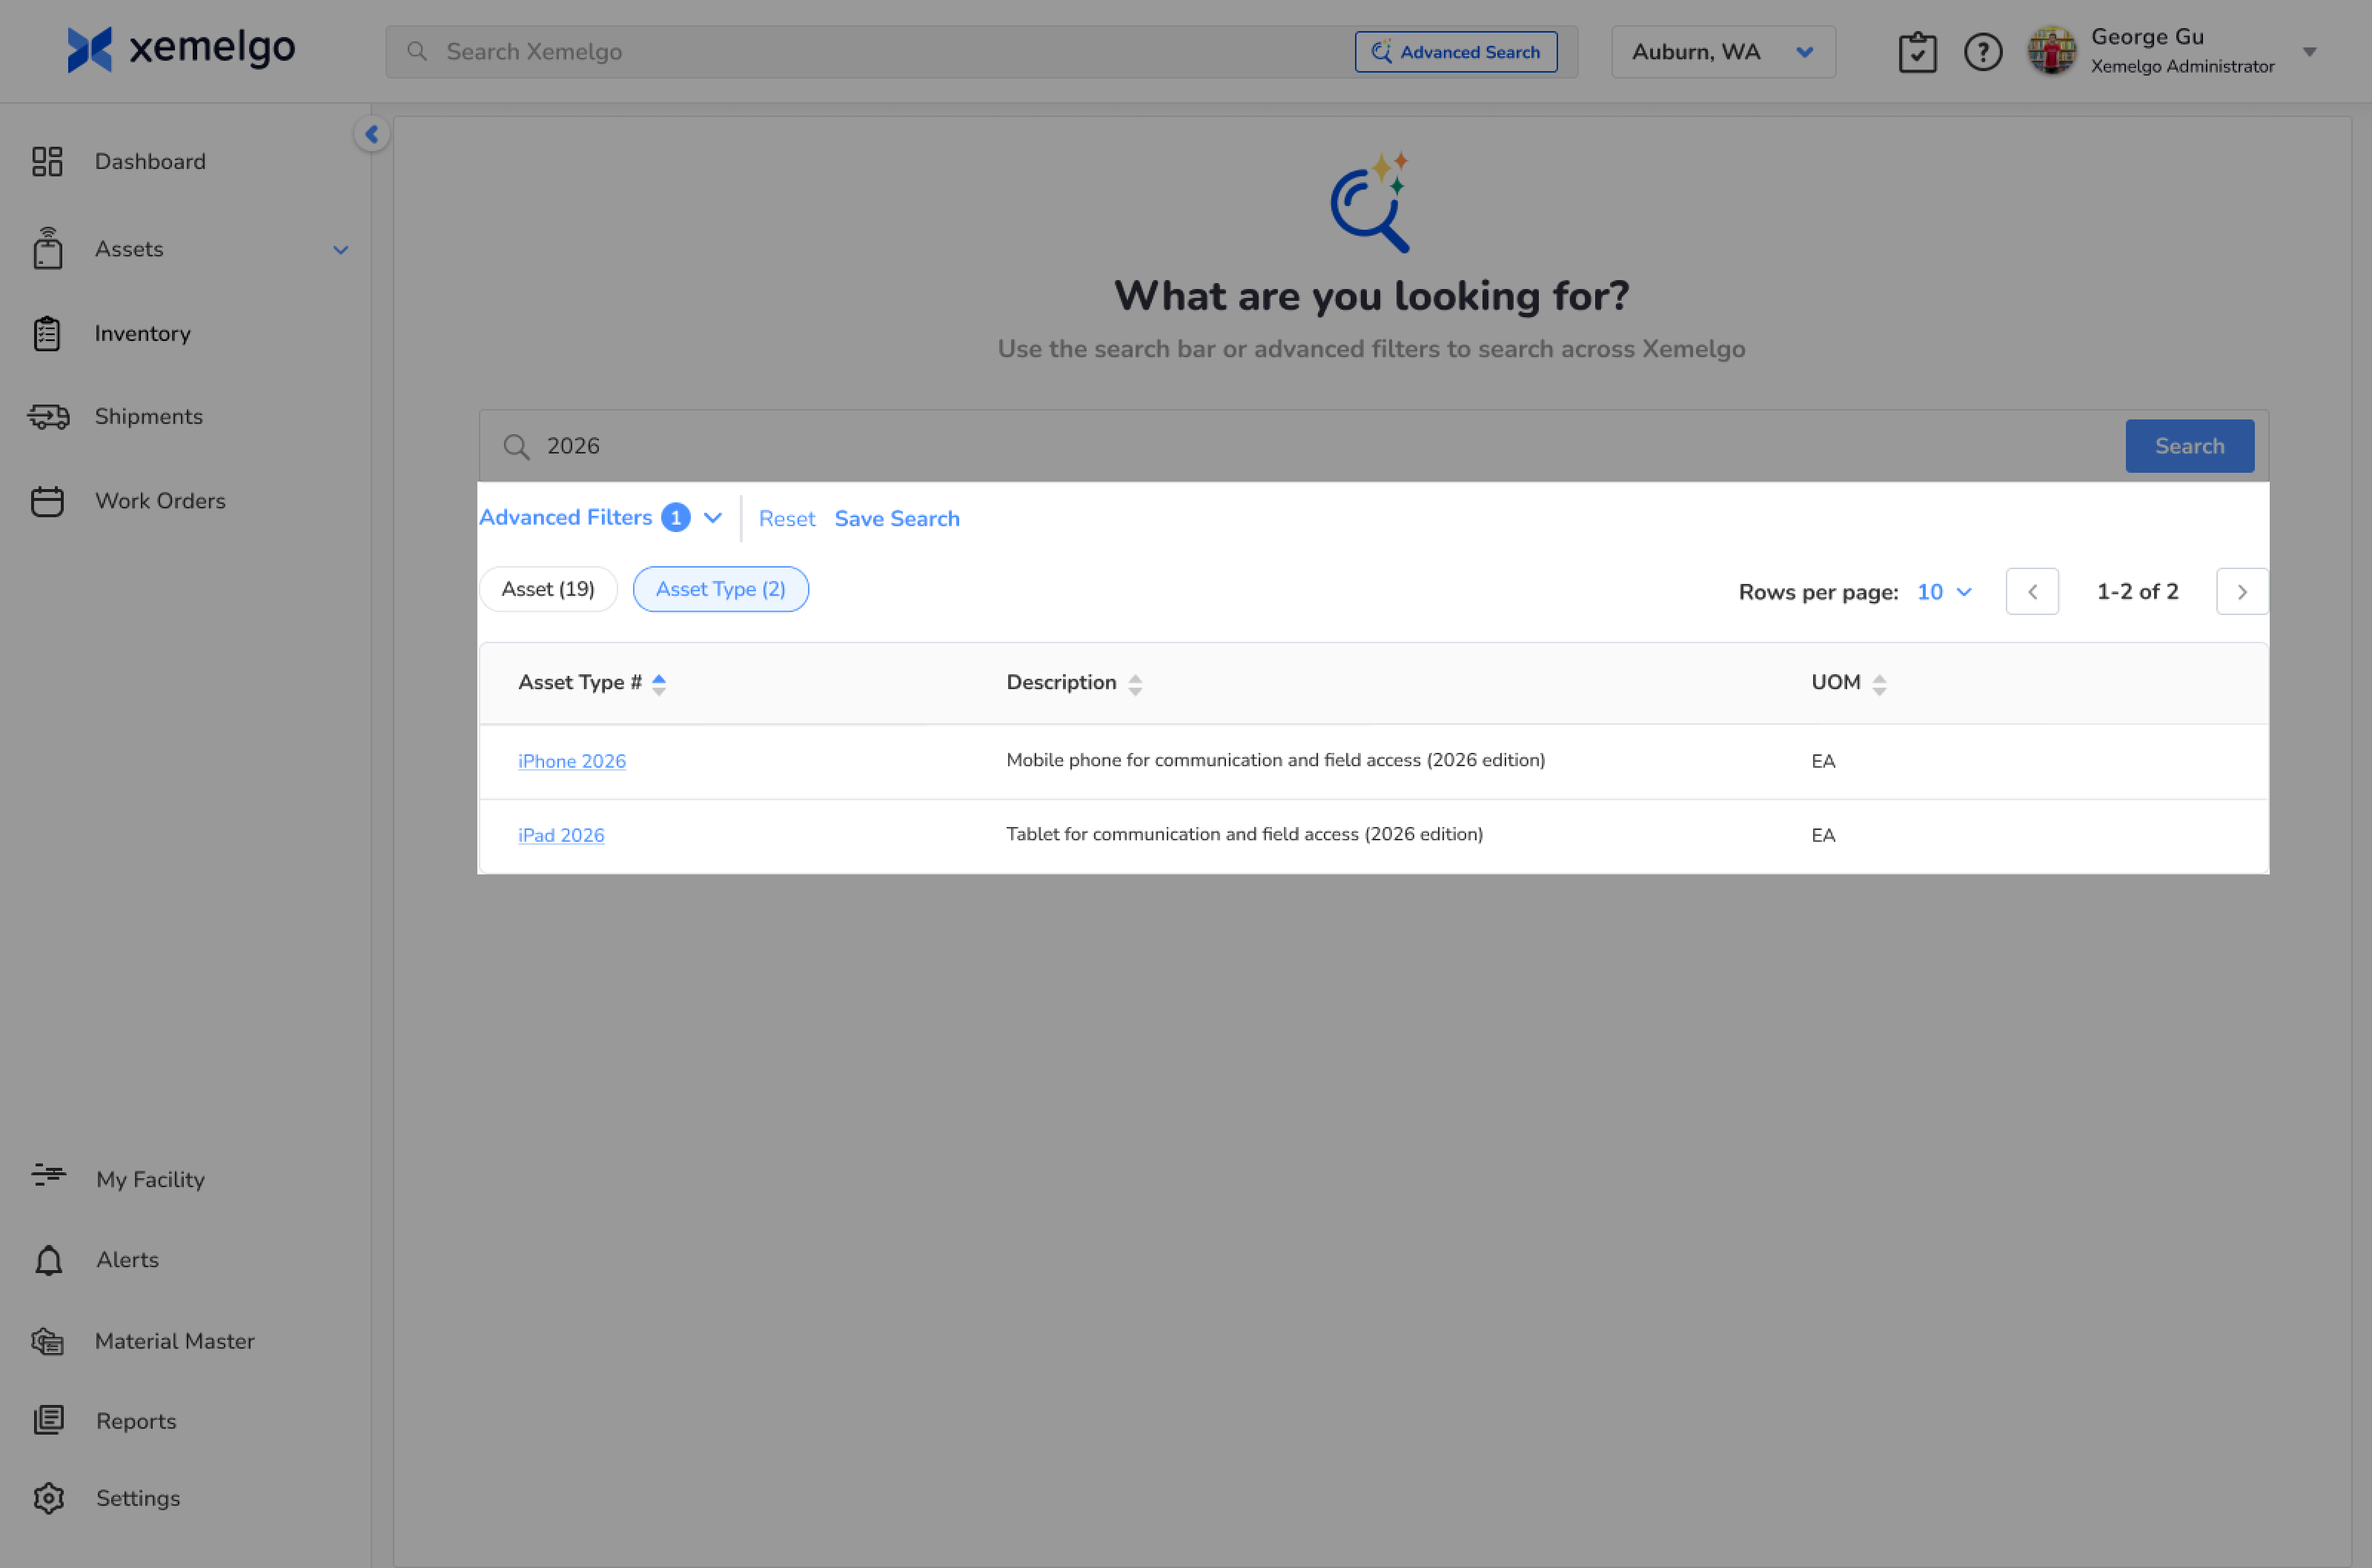
Use Advanced Filters to add criteria that include or exclude fields such as location, date, lot number, status, and more. Apply the filters to view all matching items in the table.
Sort the results or click into any item to make updates.
Was this article helpful?
That’s Great!
Thank you for your feedback
Sorry! We couldn't be helpful
Thank you for your feedback
Feedback sent
We appreciate your effort and will try to fix the article