Checkout Table using Kiosk
Checkout Table using Kiosk
Overview
This article explains how to complete the kiosk checkout process.
Instructions
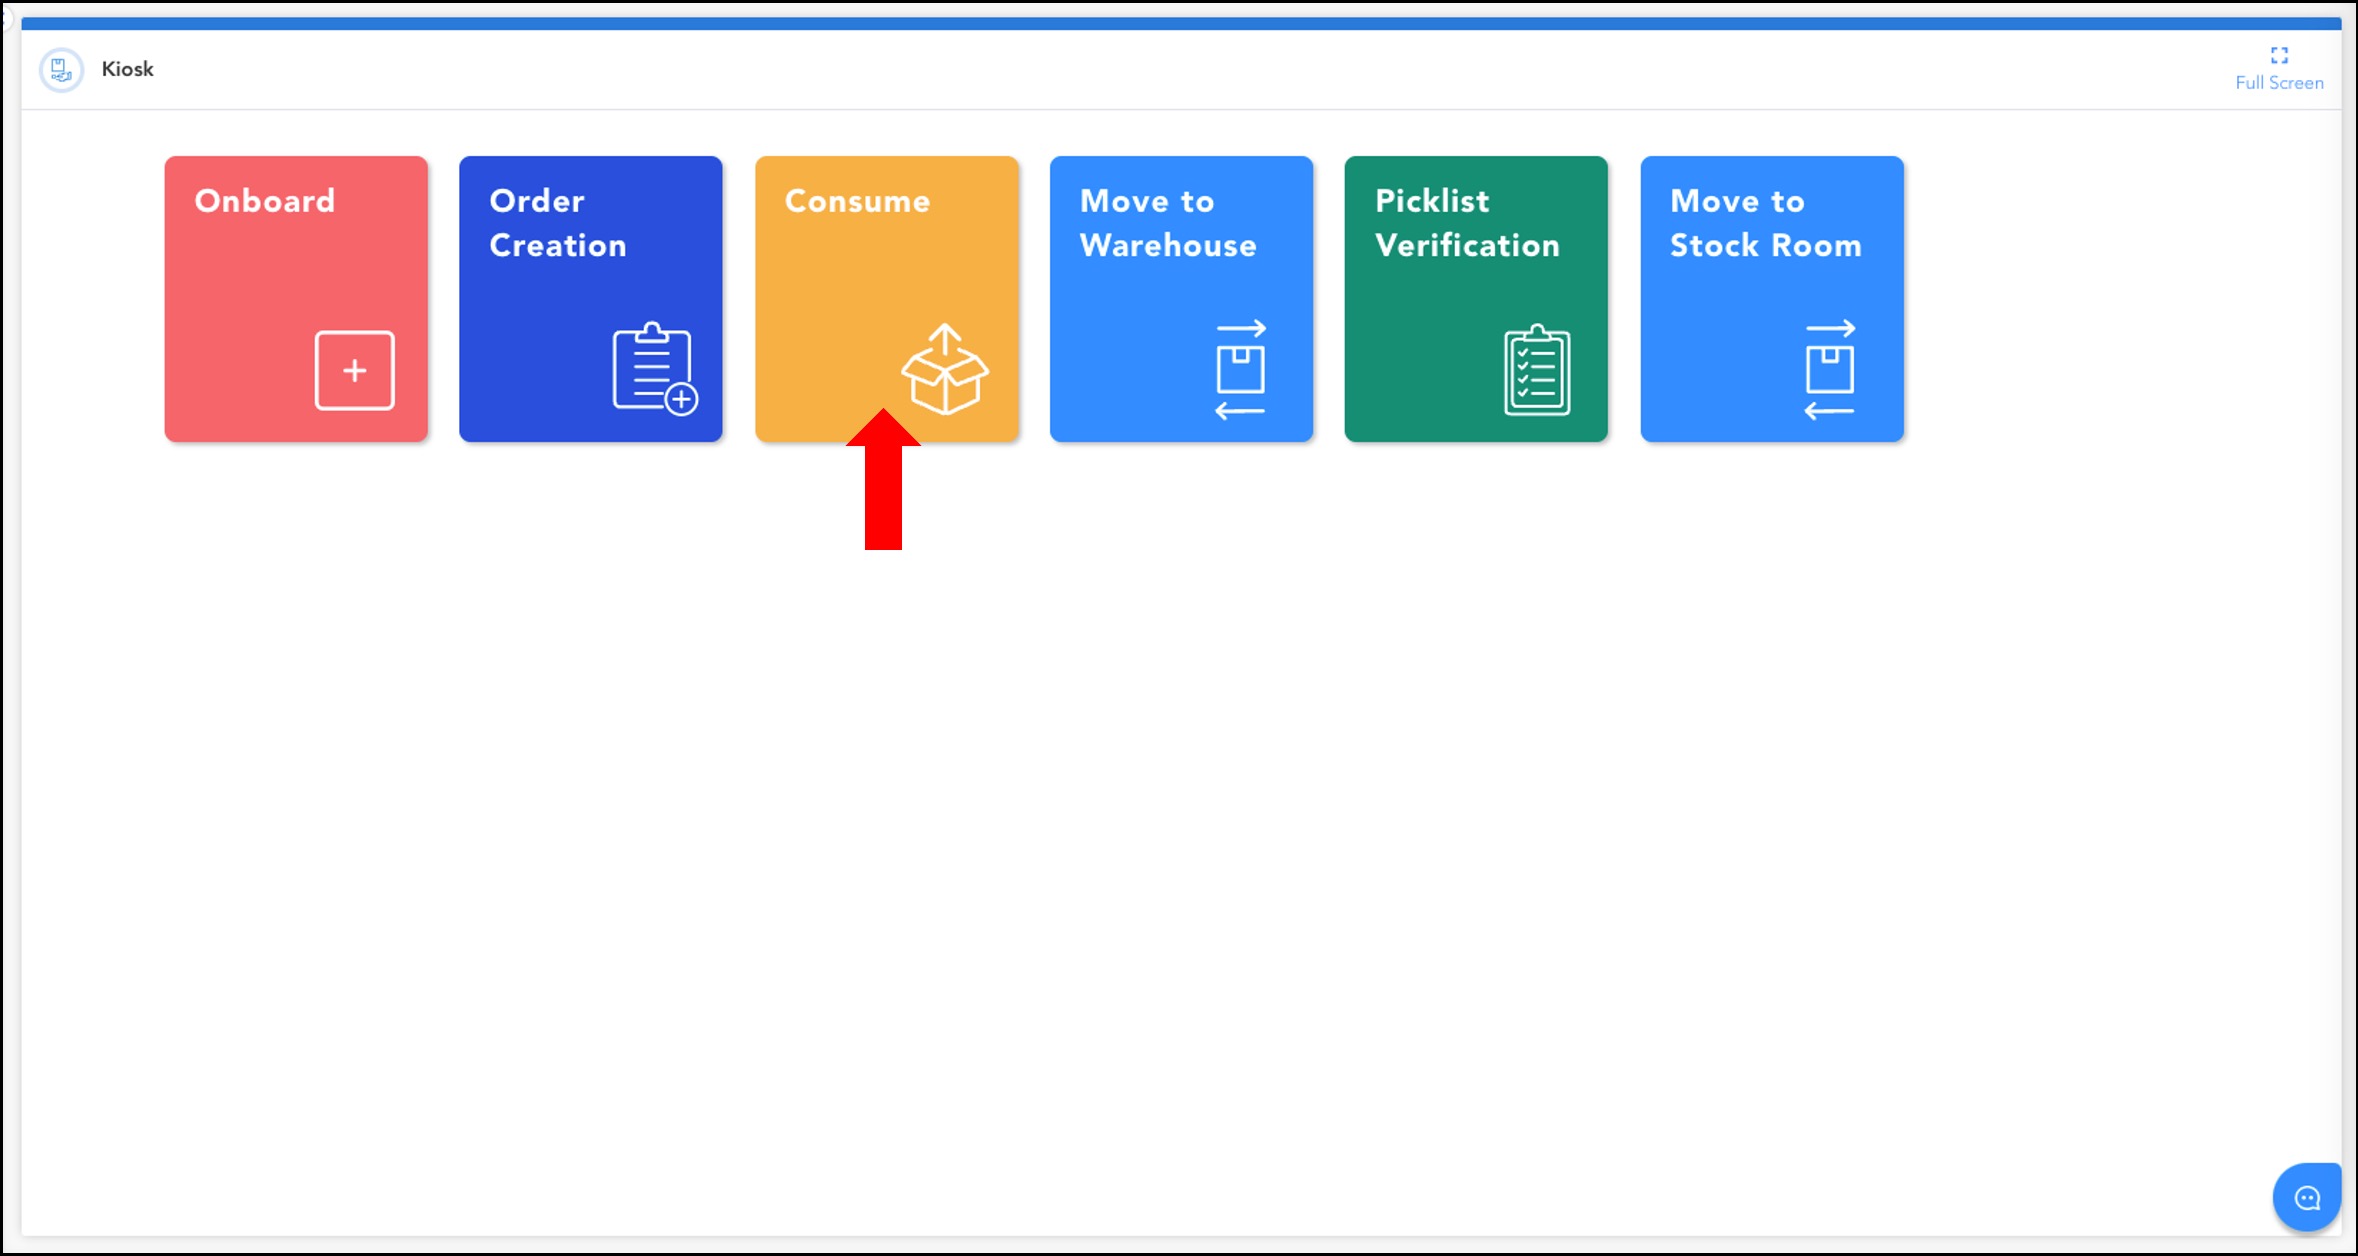
To begin the checkout table process, click Consume.
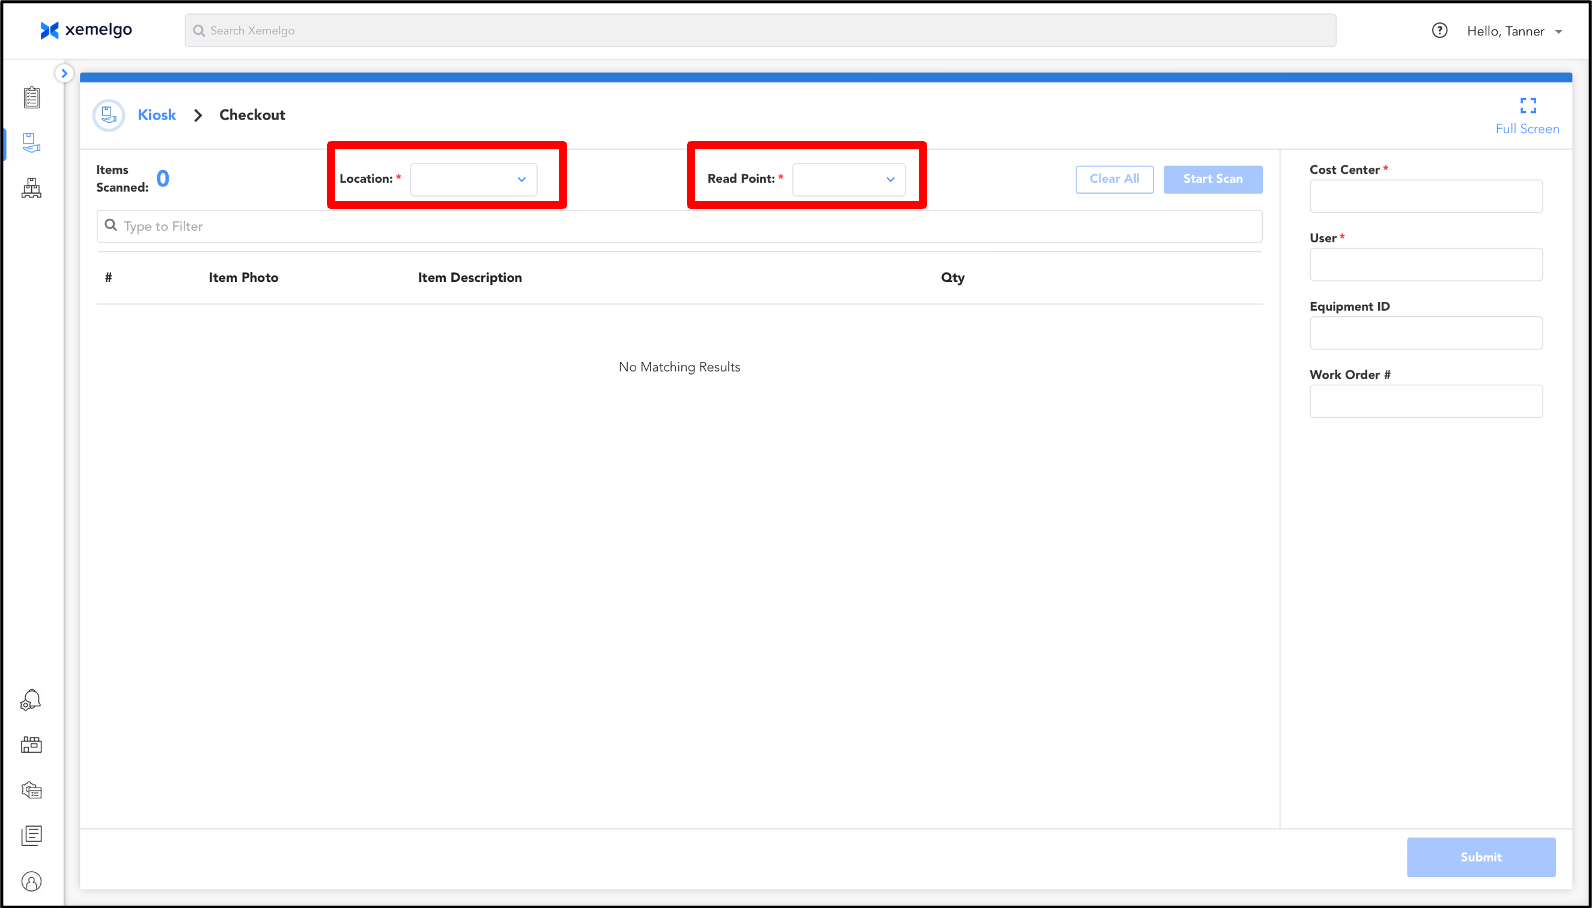
Then, select your Location and Read Point.
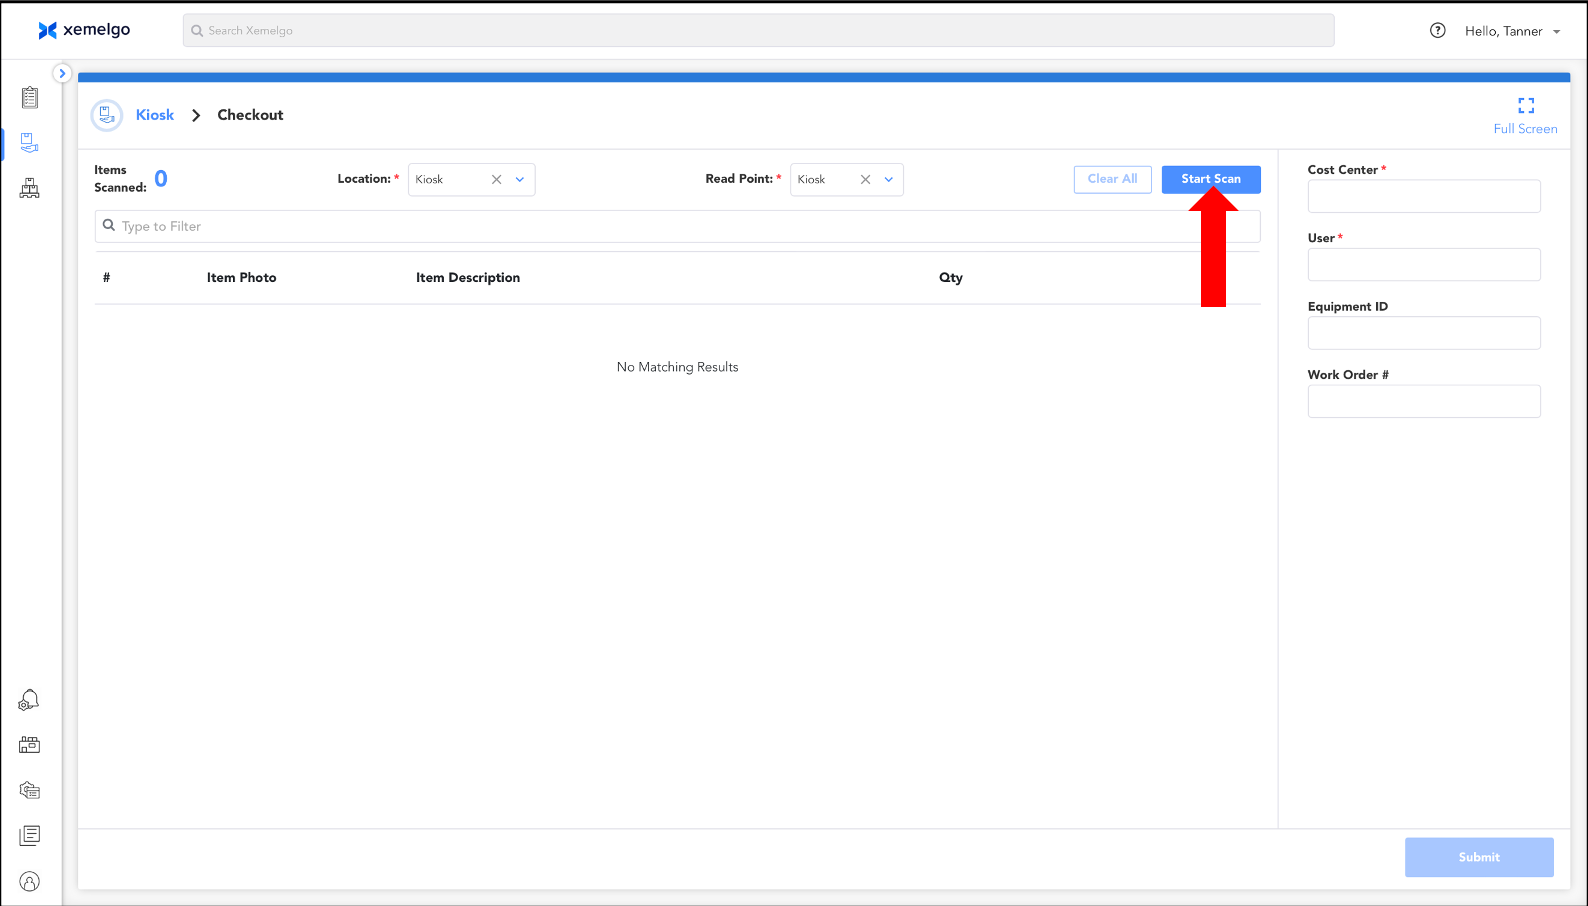
After the location and read point have been selected, click Start Scan.
If you need to stop scanning for any reason, click Pause Scan.
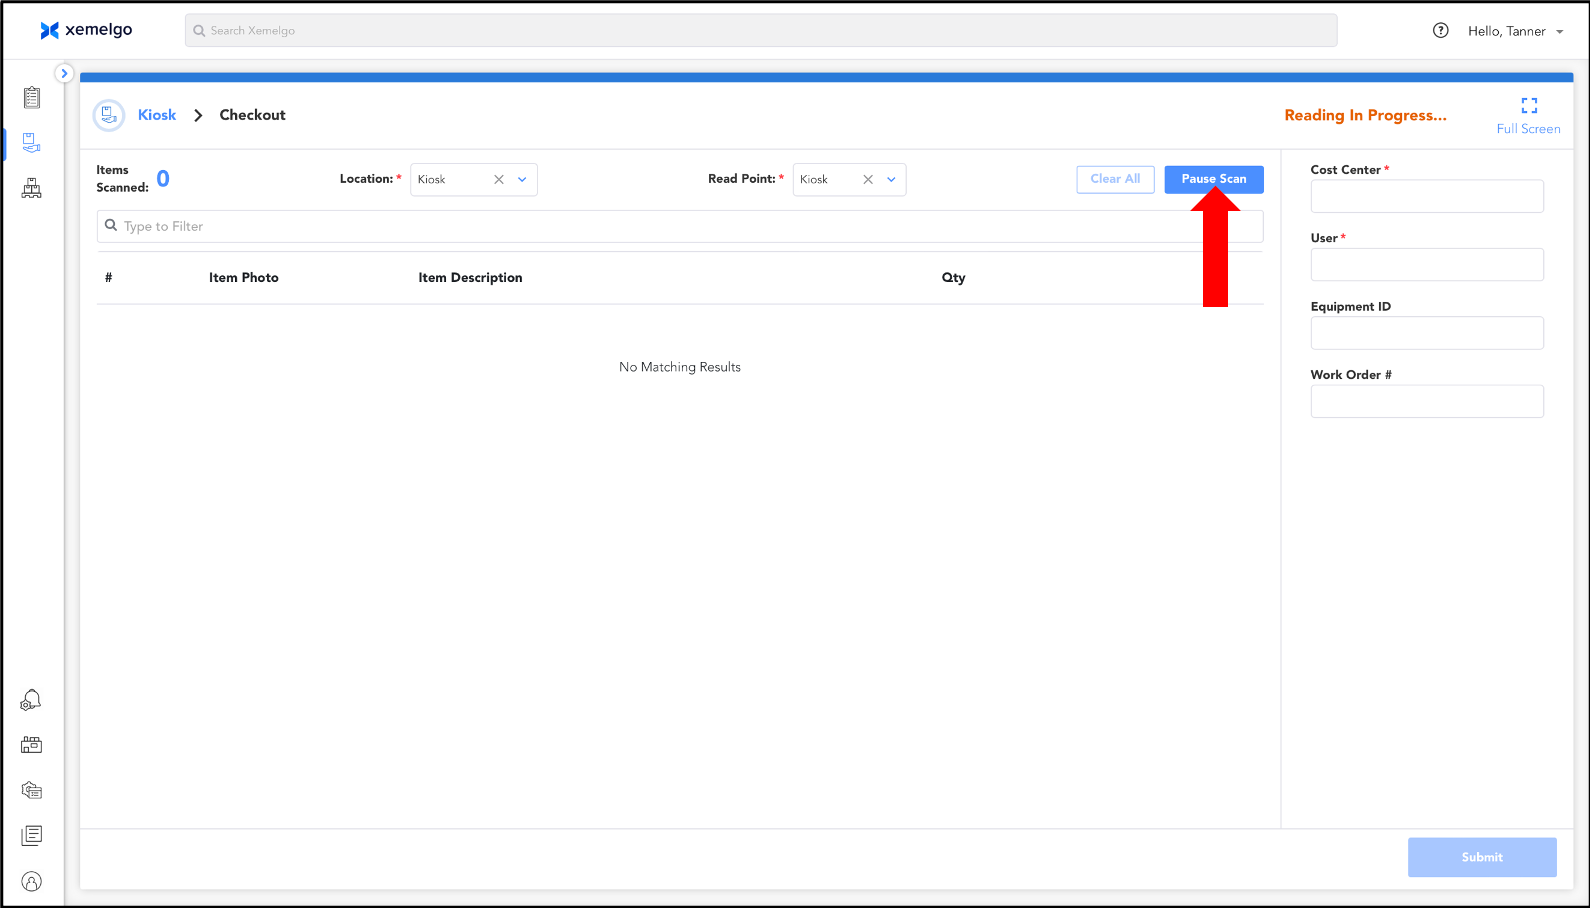
If you pause mid scan, you do not have to restart this process. Simply click Resume Scan to continue where you left off.
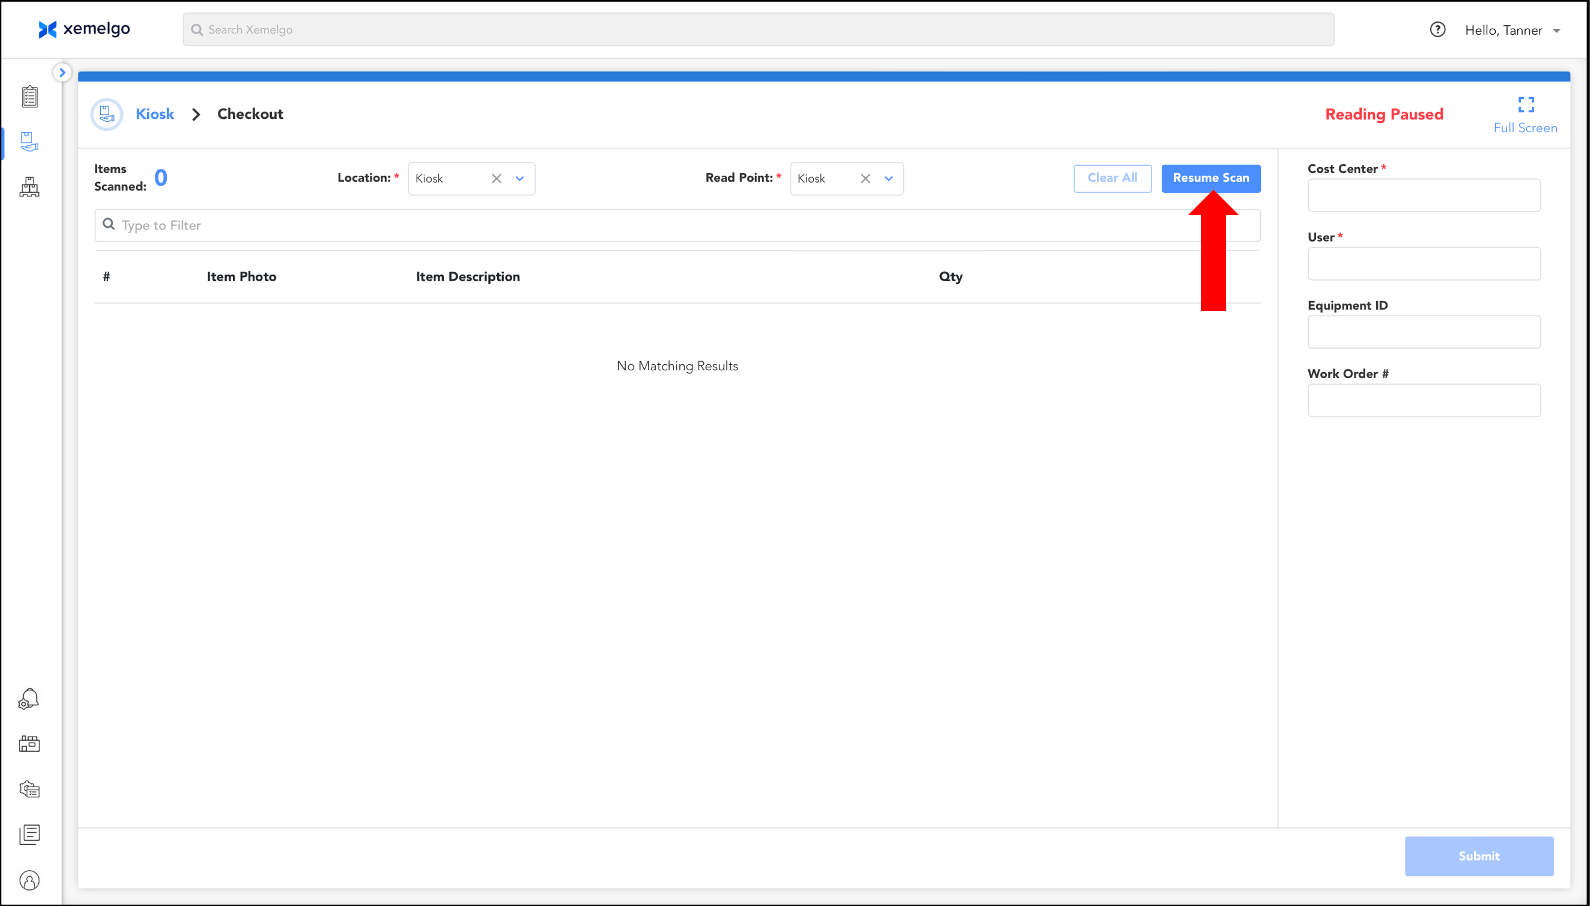
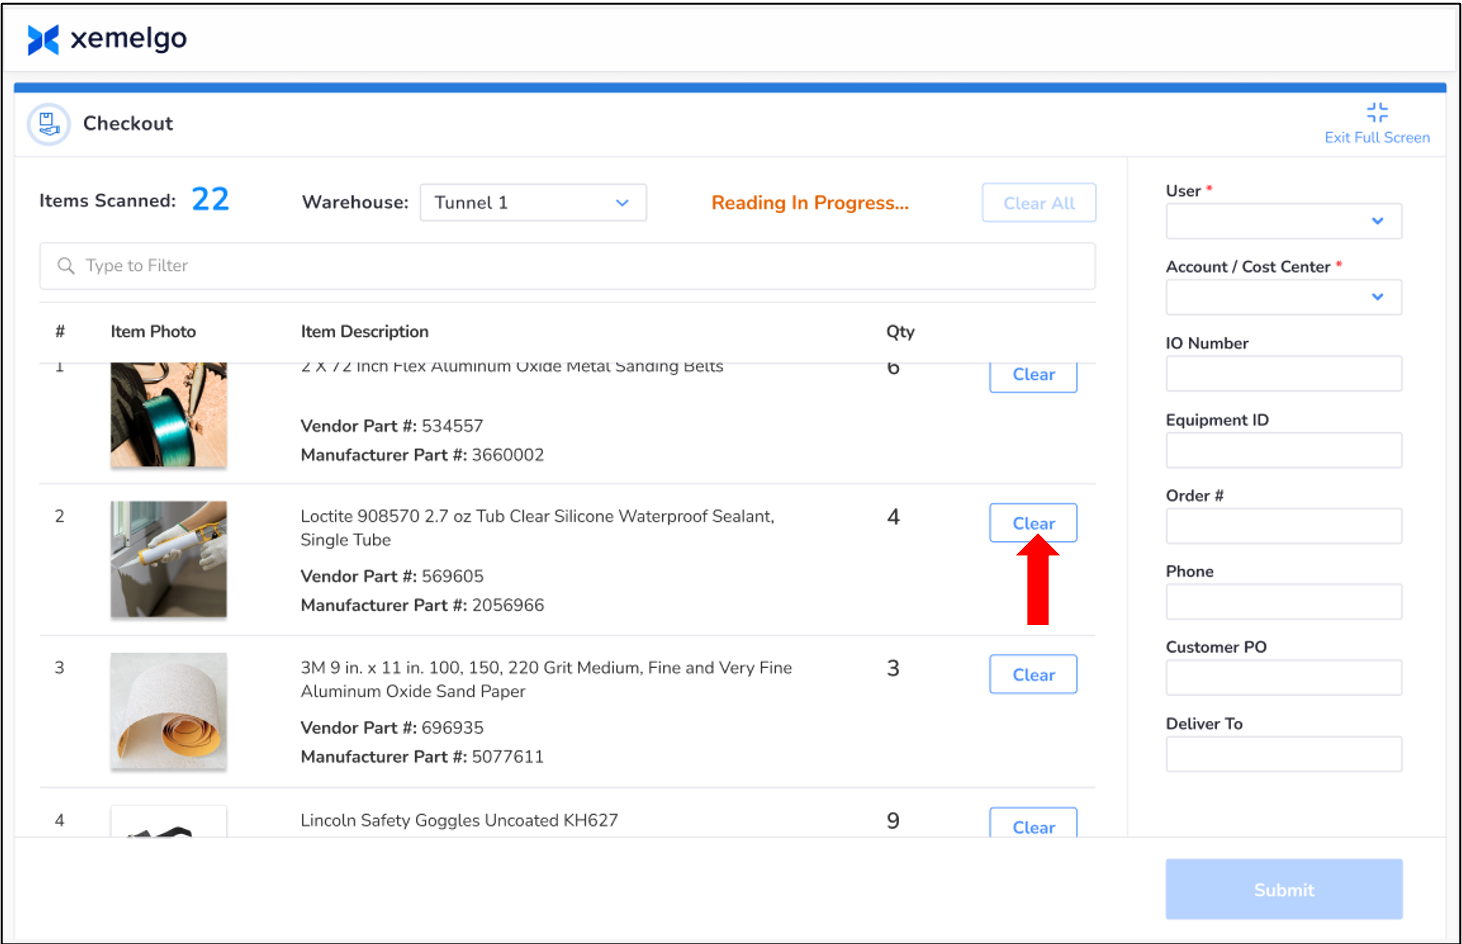
As items are scanned, they will appear below. Information such as the Item Photo, Item Description, and Quantity will be provided.
If you need to remove an individual item that has already been scanned, click Clear.
If you want to remove all items that have already been scanned, instead of starting over, click **Clear All.
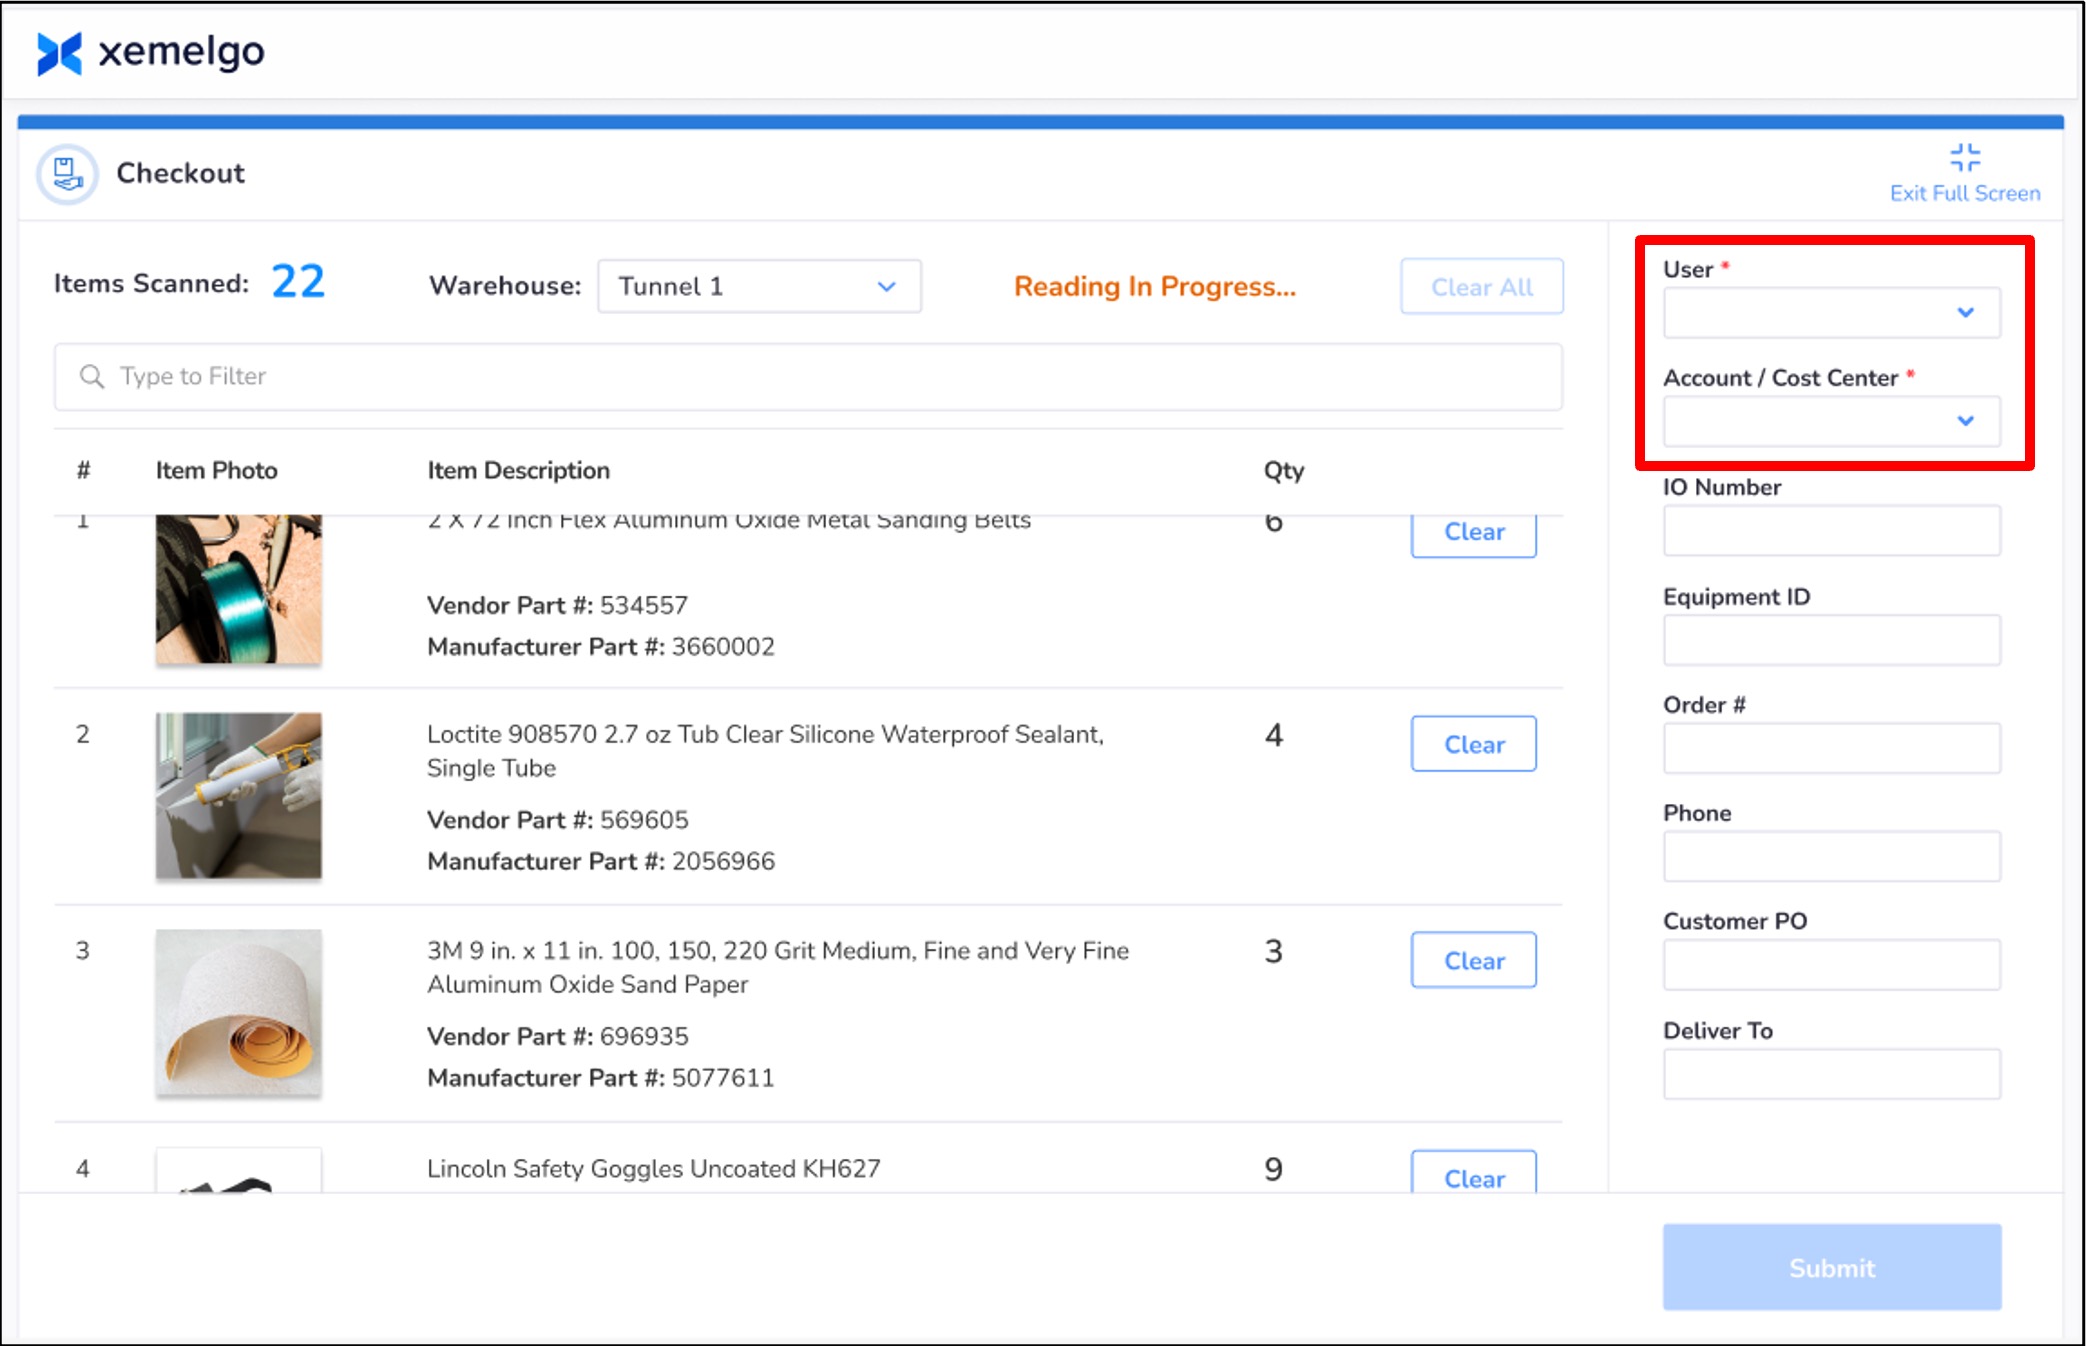
After all items have been scanned, enter the appropriate User and Cost Center.
This step is optional in the kiosk. Customers can choose to leave all fields blank, specify only certain fields, or mark specific fields as required before proceeding.
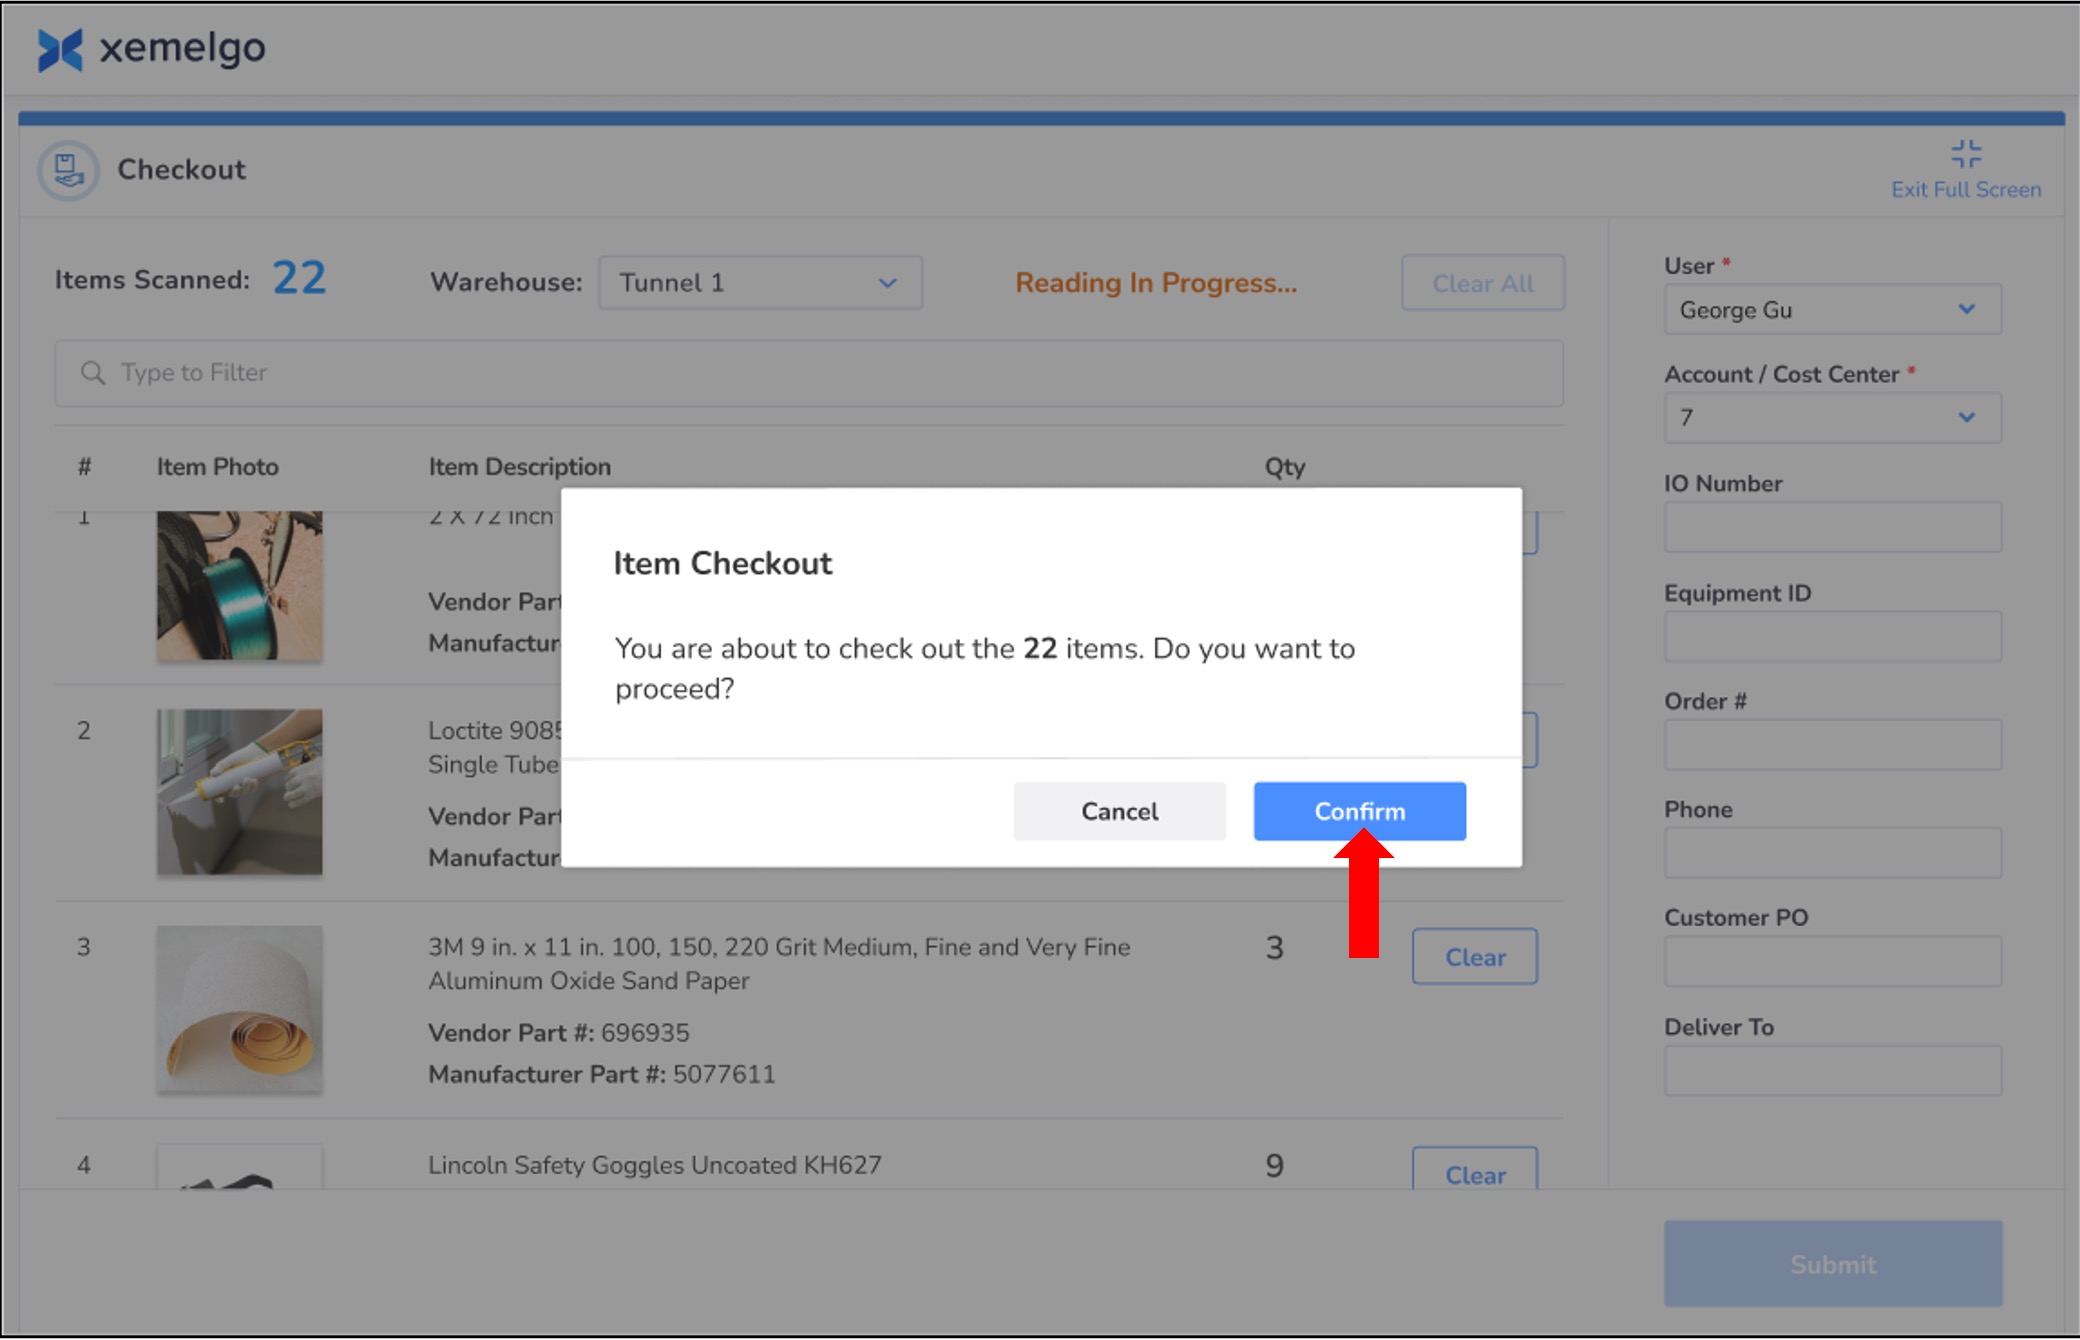
Then, click Submit.
Finally, verify that the amount of items you are submitting is correct by clicking Confirm.
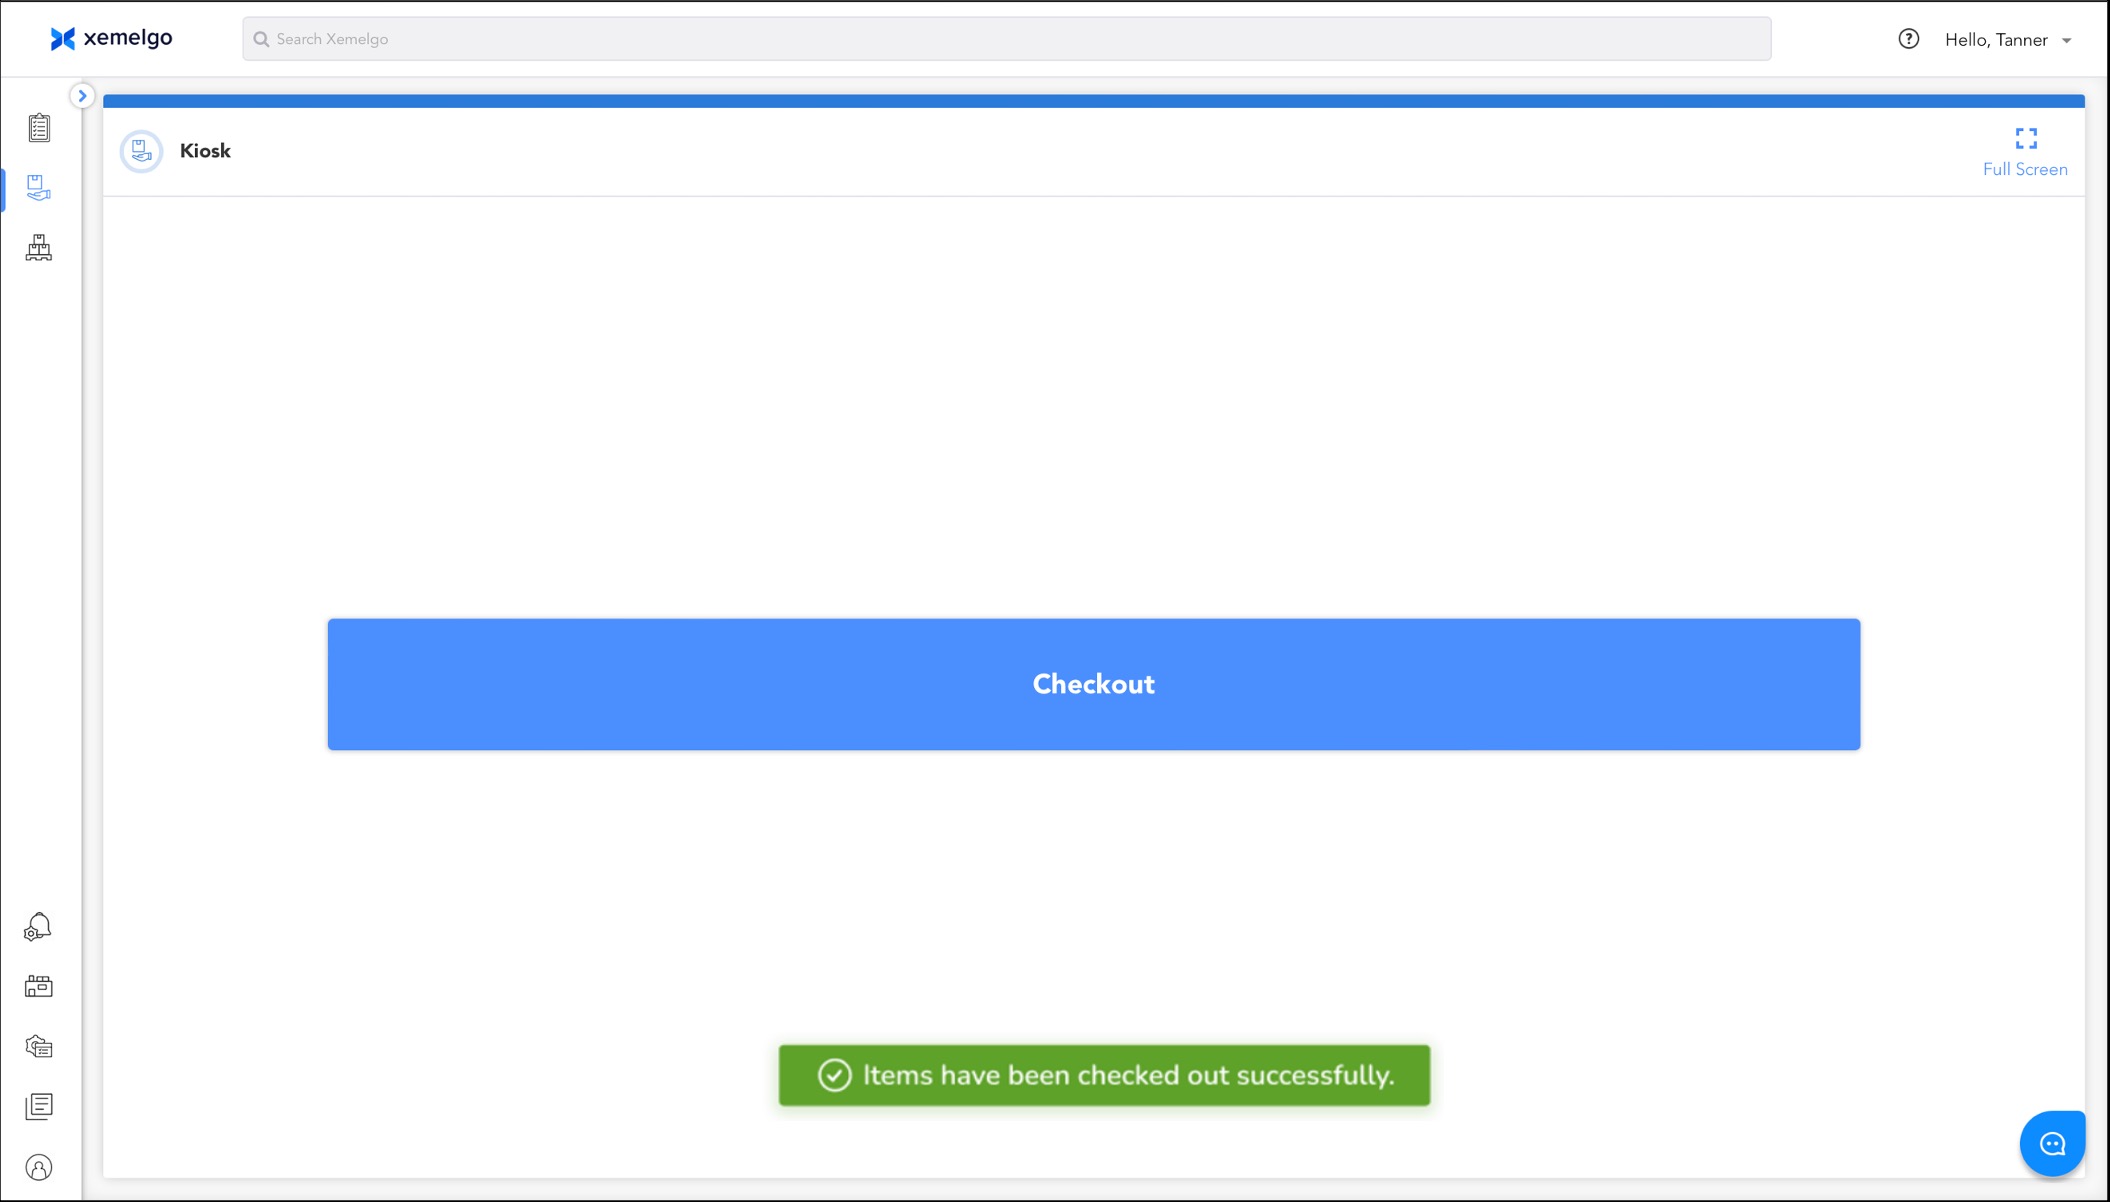
After clicking confirm, you will receive a Green notification at the bottom of the screen. This indicates that you have successfully completed the checkout process.
Need further assistance?
The article above couldn't resolve your issue? Use the chat button in the bottom-right corner to contact the support team.